[et_pb_section bb_built=”1″ admin_label=”section”][et_pb_row admin_label=”row”][et_pb_column type=”1_4″][et_pb_text admin_label=”Text” background_layout=”light” text_orientation=”left” use_border_color=”off” border_color=”#ffffff” border_style=”solid”]
The new bike project can be daunting or it can be a lot of fun. There’s a lot to consider. By way of example, here is the first of a series explaining ‘the story of my bike’.
[/et_pb_text][/et_pb_column][et_pb_column type=”3_4″][et_pb_text admin_label=”Text” background_layout=”light” text_orientation=”left” use_border_color=”off” border_color=”#ffffff” border_style=”solid”]
You have options. Go to shop, selected a size and colour that suits you, hand over payment… ride away. Or there’s a modern equivalent that involves a lot of clicking. And then there’s something that’s more of a puzzle: acquire one part at a time – sometimes considered, sometimes whimsical – and then put it all together.
However it goes, the end goal remains the same: ride away!
The story of building a Focus Cayo frame with a SRAM Red eTap ensemble allows us to show some of the considerations that are part of the process of getting a new bike. The links below relate to various steps along the way: unboxing the frame and components, weighing them all, and eventually taking them to the workshop.
We encourage you to get in touch if you have a story of your bike you’d like to share.
In the meantime, here is a summary of the steps undertaken by Rob Arnold before he rode away on a new bike…
[/et_pb_text][/et_pb_column][/et_pb_row][et_pb_row admin_label=”Row”][et_pb_column type=”4_4″][et_pb_video admin_label=”Video” src=”https://youtu.be/VjIcMN7YBSQ” /][/et_pb_column][/et_pb_row][et_pb_row admin_label=”Row”][et_pb_column type=”1_4″][et_pb_text admin_label=”Text” background_layout=”light” text_orientation=”left” use_border_color=”off” border_color=”#ffffff” border_style=”solid”]
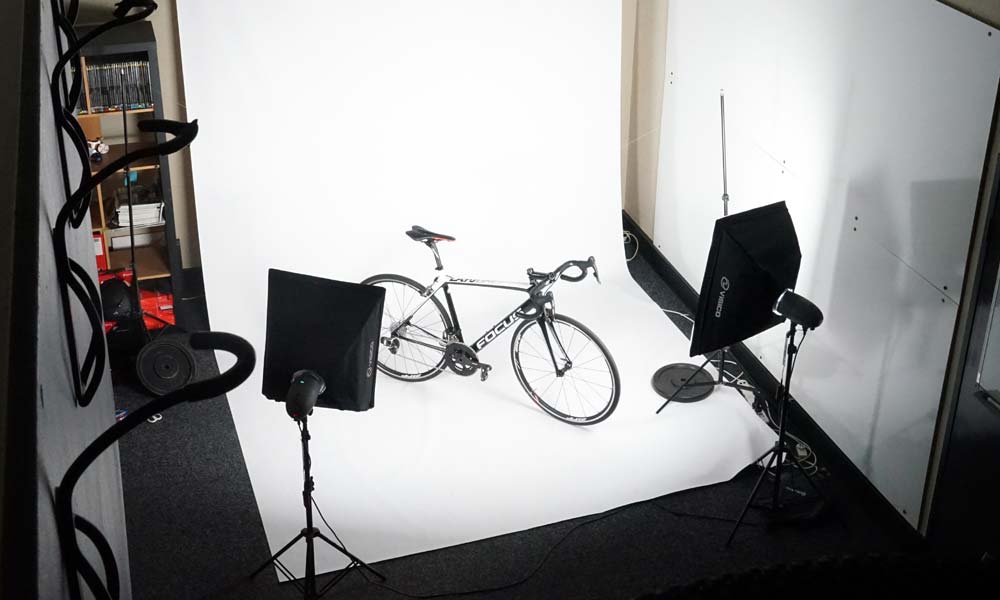
The frame: Focus Cayo (2017 edition).
[/et_pb_text][/et_pb_column][et_pb_column type=”3_4″][et_pb_text admin_label=”Text” background_layout=”light” text_orientation=”left” use_border_color=”off” border_color=”#ffffff” border_style=”solid”]
Part 01: unpacking the frame
Although originally stated that the Cayo frame was an ‘eTap’ specific frame, that’s not entirely true. Still there are options for electronic wiring or traditional cabling.
Focus has renamed the Cayo range for 2018 and it will now be known as Izalco Race.
(Click here for an overview of the pricing in Australia.)
[/et_pb_text][/et_pb_column][/et_pb_row][et_pb_row admin_label=”Row”][et_pb_column type=”4_4″][et_pb_video admin_label=”Video” src=”https://youtu.be/UOLO2mZMd0U” /][/et_pb_column][/et_pb_row][et_pb_row admin_label=”Row”][et_pb_column type=”1_4″][et_pb_text admin_label=”Text” background_layout=”light” text_orientation=”left” use_border_color=”off” border_color=”#ffffff” border_style=”solid”]
SRAM Red eTap is the groupset of choice for this bike project.
[/et_pb_text][/et_pb_column][et_pb_column type=”3_4″][et_pb_text admin_label=”Text” background_layout=”light” text_orientation=”left” use_border_color=”off” border_color=”#ffffff” border_style=”solid”]
Part 02: unpacking the groupset
SRAM Red eTap is the only wireless shifting system on the market. It was launched several years ago after a long period of testing and prototyping. RIDE sent Nick Squillari to the launch in Germany in August 2015 (click here for an overview).
It is becoming more prevalent in the Australia and it is now readily available on the market. Costs vary depending on the build and level of commitment to the SRAM family.
Good OEM pricing for complete bikes means that Red eTap is better value than when buying the ensemble alone.
[/et_pb_text][/et_pb_column][/et_pb_row][et_pb_row admin_label=”Row”][et_pb_column type=”4_4″][et_pb_video admin_label=”Video” src=”https://youtu.be/7OONlU6bDMQ” /][/et_pb_column][/et_pb_row][et_pb_row admin_label=”Row”][et_pb_column type=”1_4″][et_pb_text admin_label=”Text” background_layout=”light” text_orientation=”left” use_border_color=”off” border_color=”#ffffff” border_style=”solid”]
The Zipp bits: handlebars, stem, seat post and wheels are all from the same brand…
[/et_pb_text][/et_pb_column][et_pb_column type=”3_4″][et_pb_text admin_label=”Text” background_layout=”light” text_orientation=”left” use_border_color=”off” border_color=”#ffffff” border_style=”solid”]
Part 03: the additional items…
The original plan was to carry over a Bontrager Blendr stem from a previous bike but, for the moment, a 12cm Zipp Service Course SL is matched to 42cm Zipp aluminium handlebars.
Zipp is also responsible for the seat post. (There are two options: setback or not.)
Aluminium Zipp rims are used (Zipp 30) on a bike that, fully built, weighs in at 7.11kg.
[/et_pb_text][/et_pb_column][/et_pb_row][et_pb_row admin_label=”Row”][et_pb_column type=”4_4″][et_pb_video admin_label=”Video” src=”https://youtu.be/CH6GnxBtrwM” /][/et_pb_column][/et_pb_row][et_pb_row admin_label=”Row”][et_pb_column type=”1_4″][et_pb_text admin_label=”Text” background_layout=”light” text_orientation=”left” use_border_color=”off” border_color=”#ffffff” border_style=”solid”]
The build was done in a little over an hour by Anthony Challiner of Velofix in Rozelle.
[/et_pb_text][/et_pb_column][et_pb_column type=”3_4″][et_pb_text admin_label=”Text” background_layout=”light” text_orientation=”left” use_border_color=”off” border_color=”#ffffff” border_style=”solid”]
Part 04: going to the workshop
The last bit of the process – before the ‘ride away’ element – is putting all the gathered items together. For this, we visited a great workshop space in Sydney called Velofix.
It’s also a bike shop and exercise space or a place you can go to get fitted to your bike… but Velofix began life as a workshop and that’s how owner Antony Challinor makes most of his money. A good bike mechanic is a great asset! When you find one, get their number and get to know their opening times.
* * * * *
The good news: the bike has been put to use. It’s a joy to ride and although there’s not yet a clip of it in action, I’m happy to report that all the elements came together to create a bike I’m proud to call mine.
– By Rob Arnold
[/et_pb_text][/et_pb_column][/et_pb_row][et_pb_row admin_label=”Row”][et_pb_column type=”4_4″][et_pb_text admin_label=”Text” background_layout=”light” text_orientation=”left” text_text_color=”#ffffff” background_color=”#0eb9f7″ use_border_color=”off” border_color=”#ffffff” border_style=”solid” custom_padding=”20px|20px|20px|20px”]
What makes your bike yours? Want to share your story?
Write to RIDE Media and let us know more…
[/et_pb_text][/et_pb_column][/et_pb_row][/et_pb_section]