The workshop series featuring the Cervélo Caledonia project bike continues. In part two, Anthony Challinor from Velofix does the prep work for the disc brakes, bleeding the hoses and mounting the levers and calipers.
– Watch part 2 of the #ProjectCaledonia workshop sessions, click the link above. –
When they work well, disc brakes are fantastic. Of course, the debate about the need for this kind of product development in the road cycling market will continue for many years to come. In 2020 there seem to be more converts than naysayers but that doesn’t mean the robust discussion has halted.
Still, most bike companies are stacking their road ranges with disc brakes and if you’re in the market for a new bike, chances are the salesperson is going to steer you in the direction of the new-style stopping systems.
Disc brakes and the associated tech have introduced a whole new vocab to the workshop. Instead of outer cables, for example, there are hoses. Instead of inner cables, there is hydraulic fluid. Then there’s ‘rotors’ and ‘barbs’ and other terms that weren’t previously used, certainly not in the road cycling realm.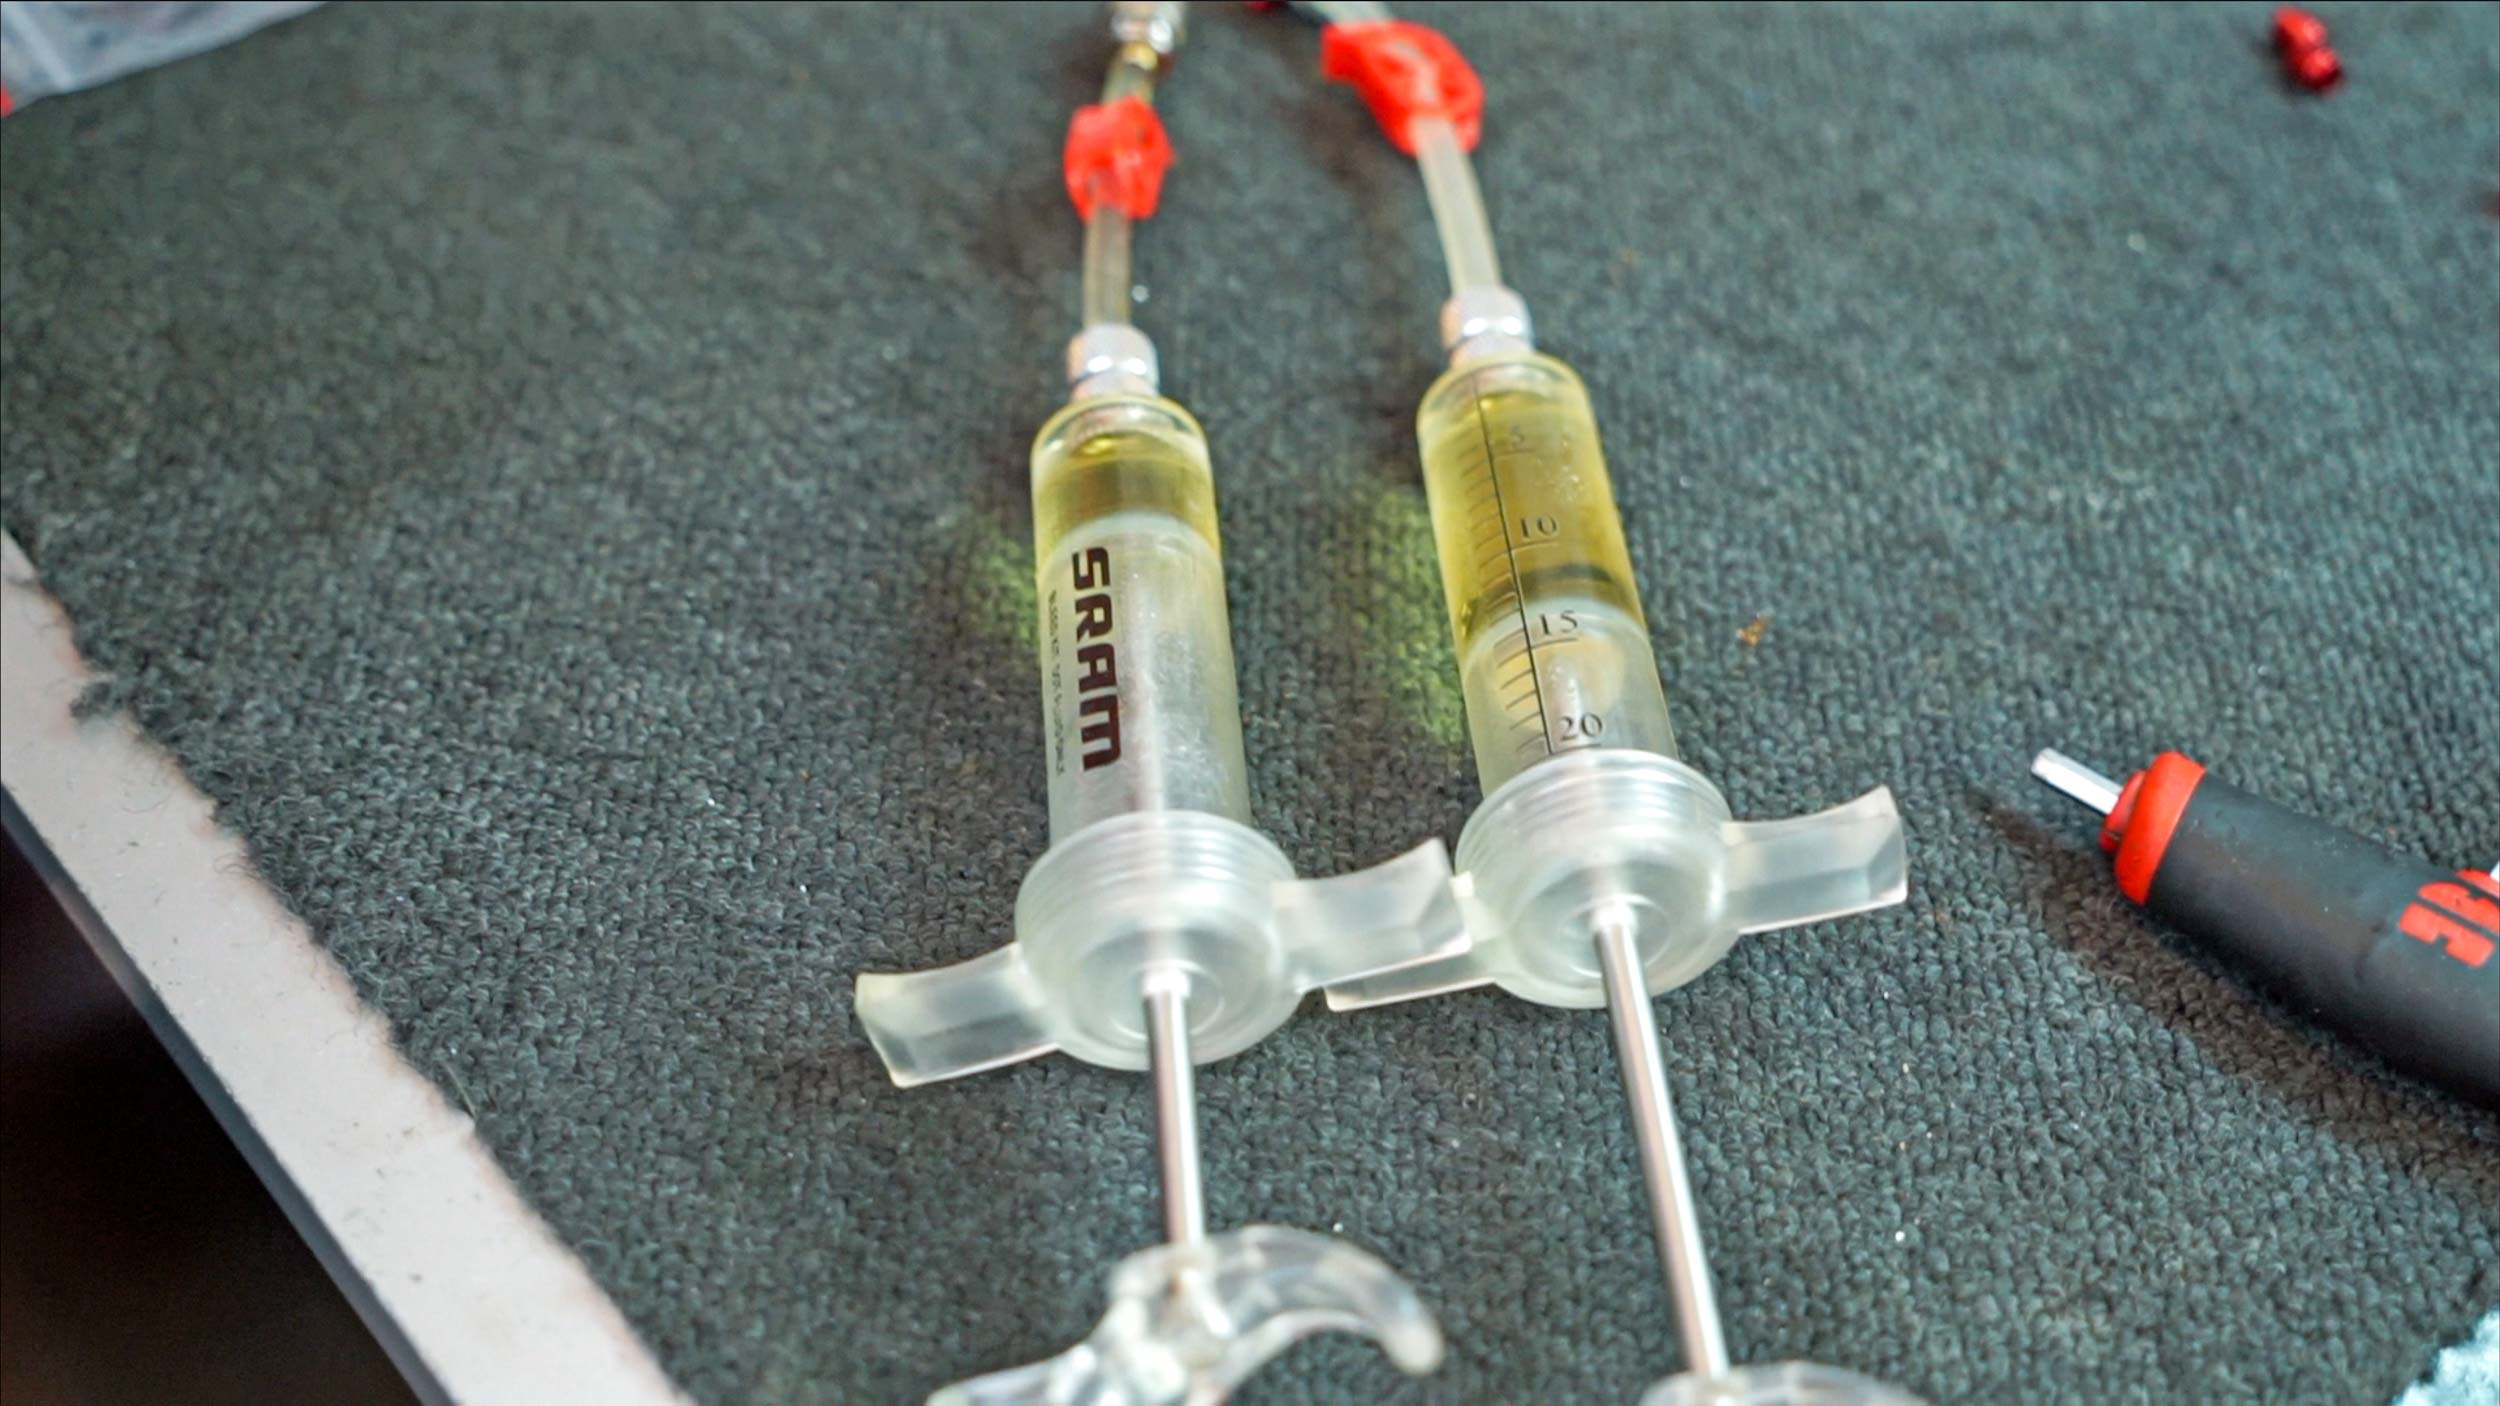
Bleeding the hoses
As you can see in the video (above), the installation of disc brakes on a modern road bike – one complete with hidden hoses and proprietary stem/handlebar systems, etc – is a complex procedure.
It is something that requires the right tools, the right torque settings, and even a good knowledge of the chemistry of various hydraulic fluids, lubes and pastes.
When it comes to disc brakes, for example, SRAM uses Dot 5.1 Disc Brake Fluid, which should never be confused with the Mineral Oil used for Shimano systems.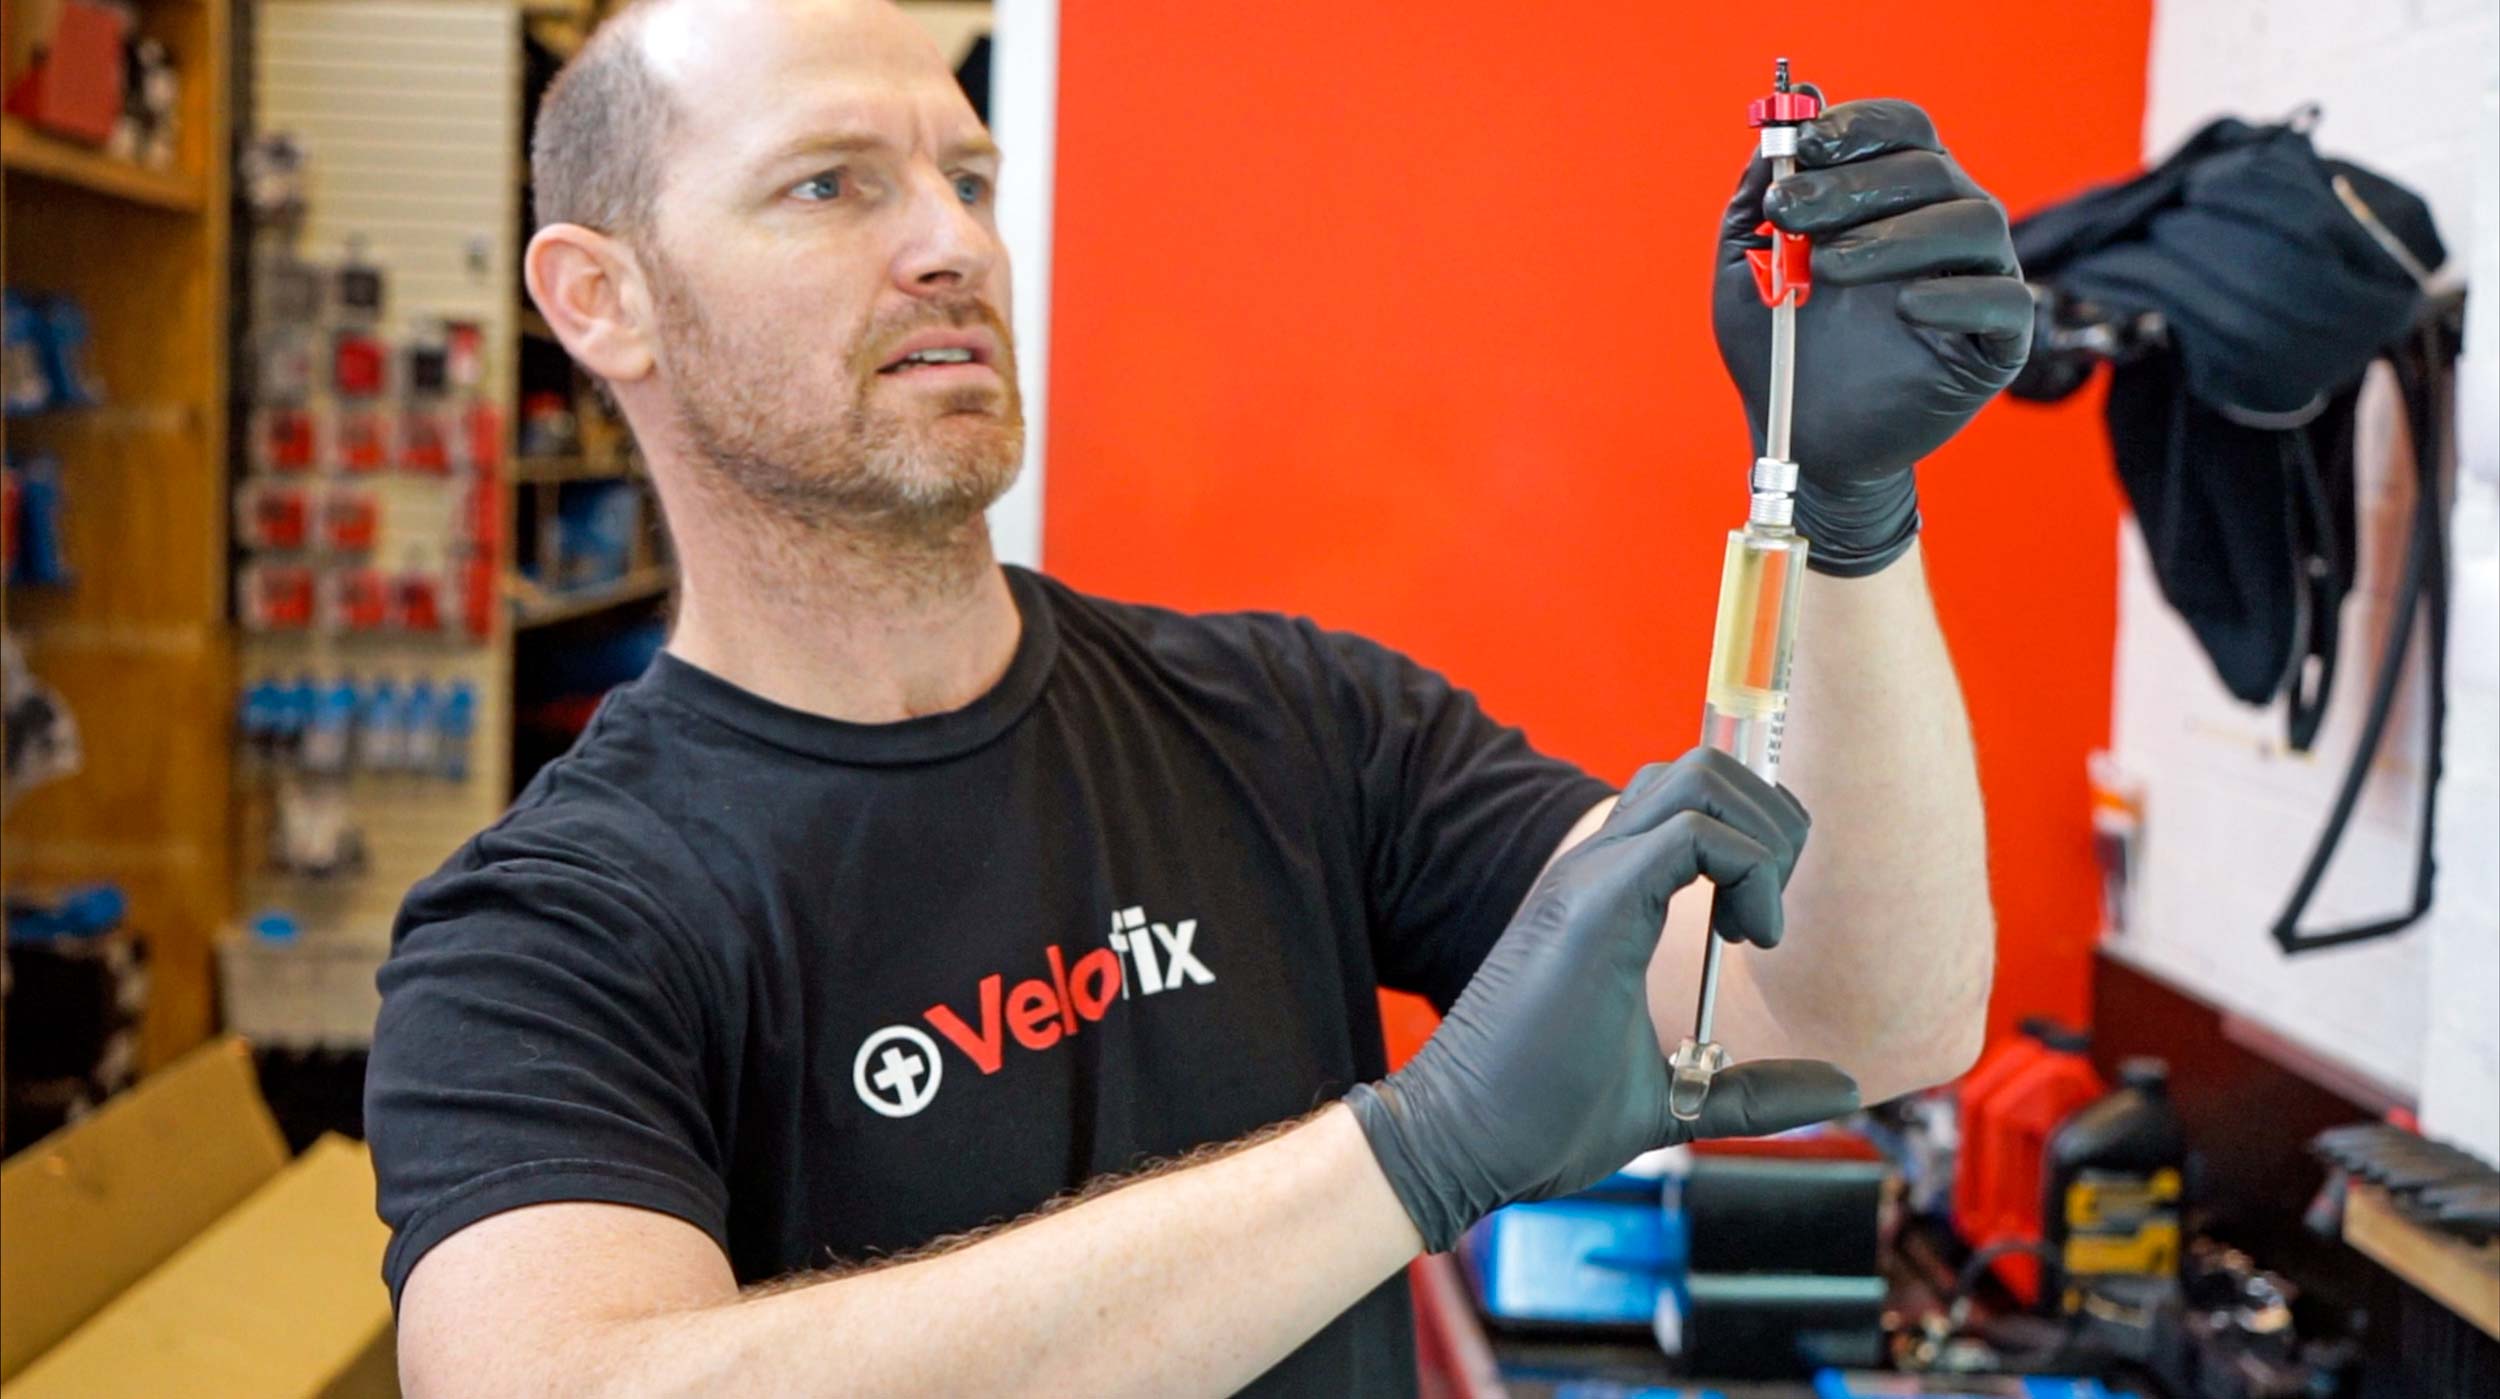 Anthony Challinor leaves little to chance. He has a method for the construction of a bike and he goes about his work in a pragmatic, professional manner to ensure the best possible build. In the video, he proudly shows off how he stores the various elements required for a disc brake build session and minimises the risk of cross contamination.
 You can, of course, do the mechanical work yourself and SRAM has a ‘Pro Bleed Kit’ that retails for AUD$126-140. Once you know how to manage the process, it can be a relatively painless procedure that – using the Challinor example – needn’t take any longer than 10 minutes (plus a bit of preparation / clean-up time).
The first installation is, however, likely to be a little more time taxing and potentially confusing. Still, the process has been considerably refined over the years. Furthermore, the reality is that road cyclists can now benefit greatly from the many lessons learned by the MTB community over the past 20 or so years, when disc brakes have become ubiquitous.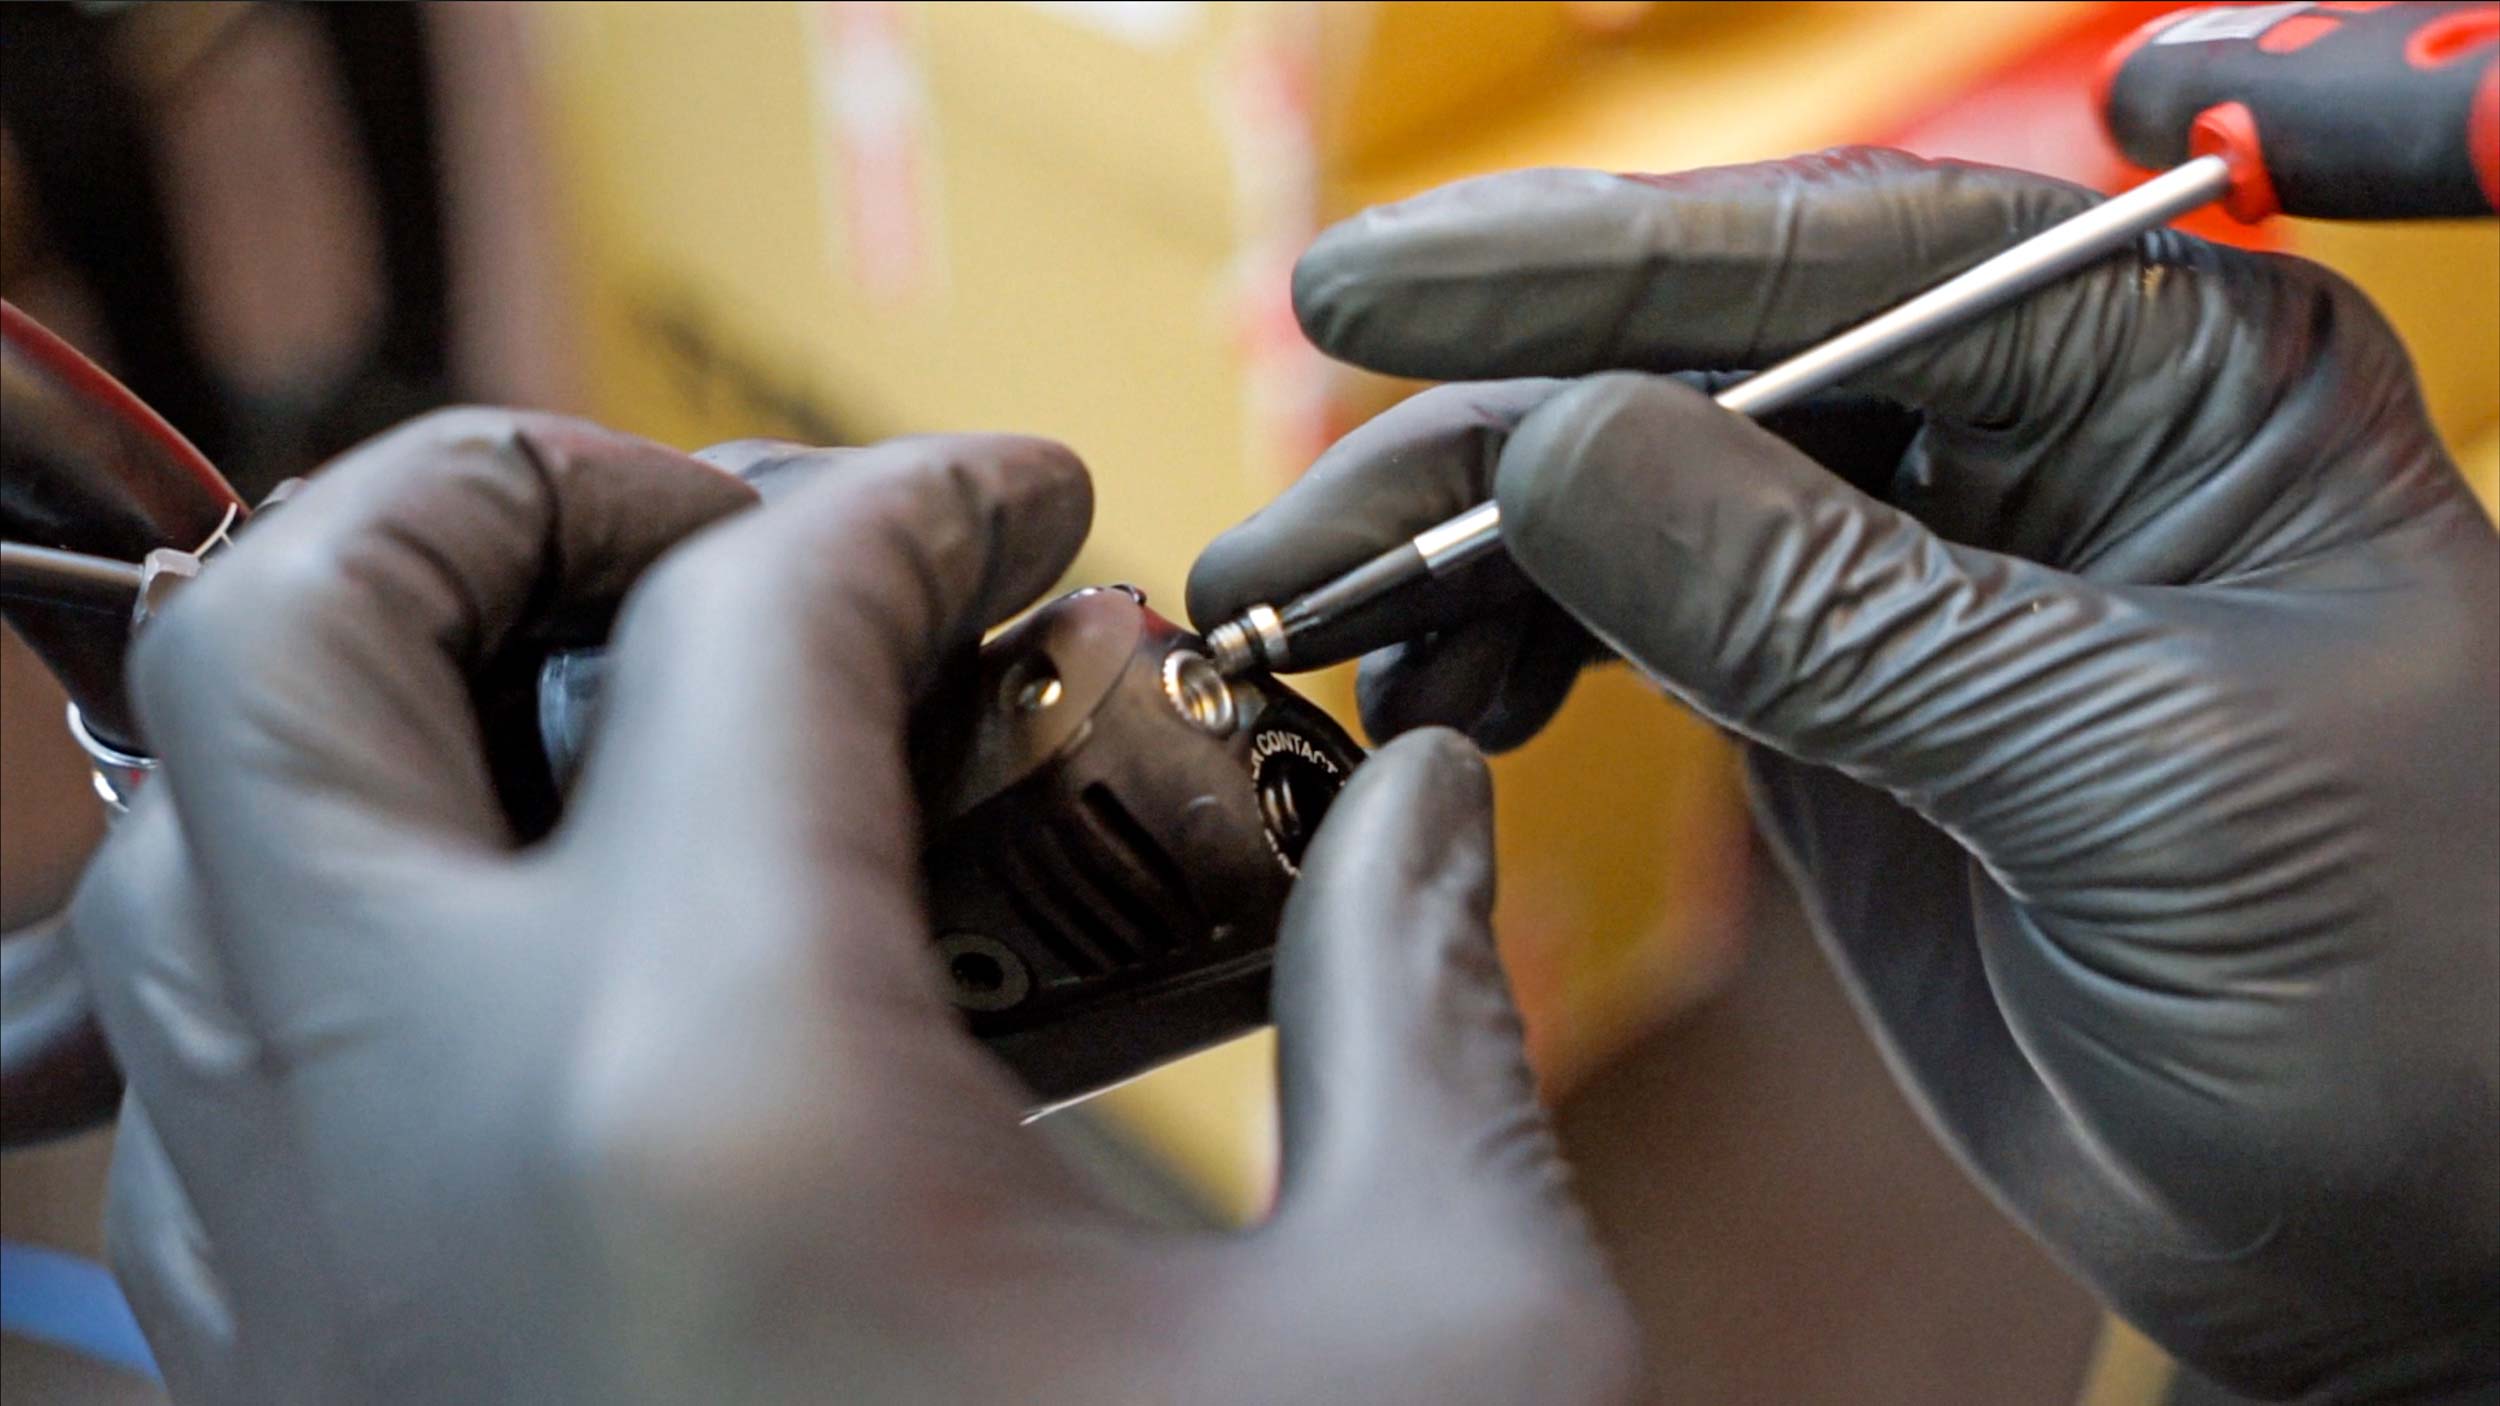

Workshop video not a ‘how-to’…
When fitted properly, disc brakes will perform well and bring you many hours of riding pleasure with little need for maintenance or adjustments.
When fitted poorly, disc brakes suck.
With this in mind, I made a decision early last year when I got my first disc brake road bike to always have the brakes serviced at a bike shop, by a professional mechanic with knowledge, experience and the correct tools.
Before that, I was prepared to tinker with my ‘traditional’ rim brakes when there were issues. I was usually able to remedy a problem mid-ride if necessary but if things got nasty, I’d inevitably find myself back at the bike shop asking for a proper service.
And this is what tipped me over into becoming a disc-brake-bike-rider… logic dictated this approach. If I was getting my rim brakes properly service at a bike shop, why couldn’t I do the same with disc brakes? My personal bike has seen a number of changes in the 20 months I’ve owned it: different wheels, different cassettes, different rotors, different brake pads… etc. And when it was in need of servicing, I took it to Anthony at Velofix and he got it all functioning again. I should add, however, that it was akin to visiting a dentist after a year of not brushing your teeth and announcing, ‘I don’t know why there’s decay…’
Anthony has fitted plenty of disc brakes to bikes. He has also repaired many and replaced worn parts. He knows what he’s doing and he’s quick and methodical when he is in the workshop… so I’ll continue consulting him when I have issues. In other words, the video that shows him working on the project bike, the Cervélo Caledonia, is not necessarily intended to be a ‘how to’ guide.
If you have the bleed kit and the right tools, chances are you already know what you’re doing. If you don’t, then it’s likely that you’re more like me: willing to pay a little to get the job done properly, without behaving as though I’m a mechanic.
One purpose for making the video, however, is to showcase the various steps required to get disc brakes to function well from the get-go. Do it right during the initial build and you are far more likely to enjoy hours of fuss-free riding. Do it wrong, and you’ll probably be cursing all the way to your nearest bike shop.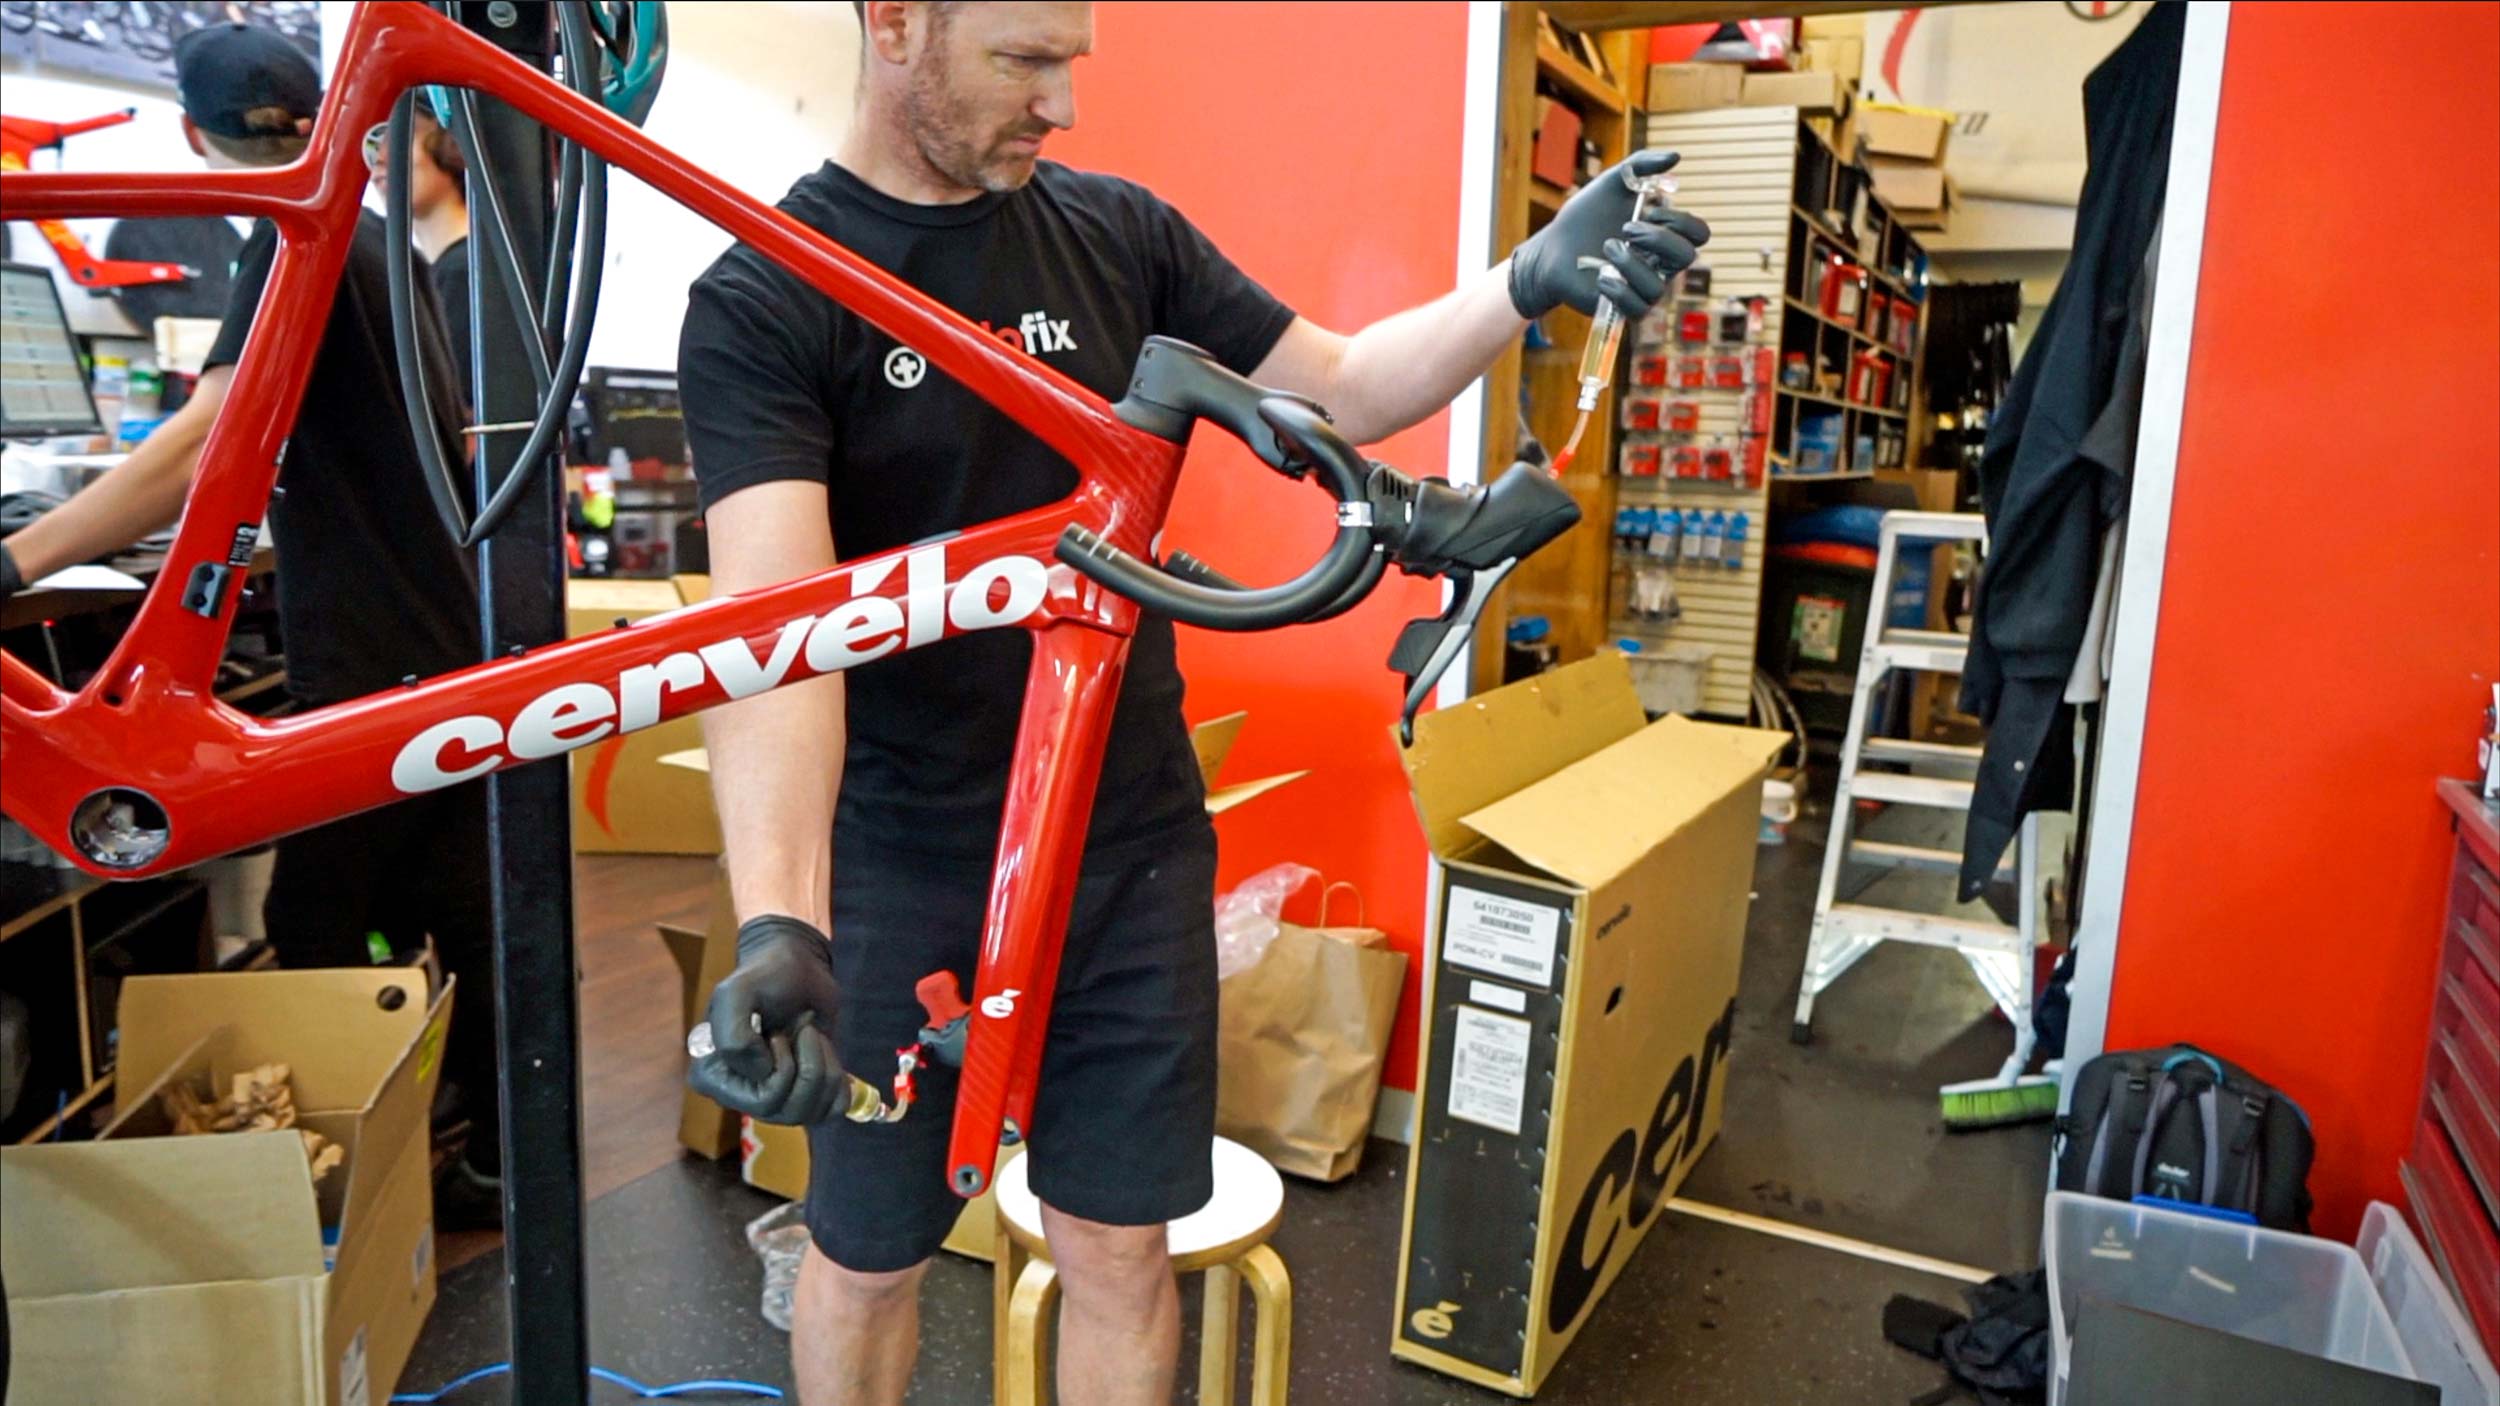
The series continues…
There are already a couple of videos from the #ProjectCaledonia workshop series uploaded to RIDE’s YouTube channel but more is still to come. Anthony eventually wraps the handlebar tape and gives the bike a final look-over and then announces, as he does often throughout the build process, “Done”.
He’s fast, efficient, fun to work with, and interesting to listen to (and learn from). I hope you enjoy the videos and get something out of watching a man at work. If you have any questions, don’t hesitate to write and I’ll see what I can do about getting an answer for you.
– By Rob Arnold