GoPro needs no introduction to anyone who has tried to capture bike rides on video. The cameras have evolved year on year, and the latest offering – the Hero12 Black – is now being used for the #StoryOfMyRide series on YouTube.
This is an overview of my experiences during the first weeks with the GoPro Hero12.
– Story by Rob Arnold
In a recent feature about riding the Thredbo Valley Track in the Snowy Mountains I offered some details of products I use while filming while on the bike. Given that this particular ride included the use of a few new products from the GoPro catalogue, it has been a catalyst for me to summarise some of the lessons I’ve learned during the time I have been making videos about my cycling experiences.
(Click the link below to see some different camera angles and use of a few new items.)
For several years it has been a habit of mine to carry a camera with me while riding. One of the legacies of this is the growing #StoryOfMyRide series on YouTube.
With a GoPro camera fitted with a Media Mod attached to a selfie stick tucked into the middle of my cycling jersey pockets, I set off not knowing what I might see and, often, not knowing exactly where I’ll go. And I like to be prepared just in case something interesting comes into view. That’s a brief explanation of how the ‘Story Of My Ride’ videos began.
Sometimes there’s great scenery, or good light, or interesting conversation. At times all these factors come together and fun, informative, and picturesque content is the result. There are, of course, also times when I’m simply documenting where I ride and what I’m thinking mainly for personal reasons. Whatever the catalyst for the videos, I hope you find them engaging.
– Click here to see the ‘Story Of My Ride’ playlist on RIDE Media’s YouTube channel –
Based on feedback I’ve received, it’s clear others are also interested in capturing their rides on camera. One of the most common questions I get about the products I use relates to camera equipment. ‘What do you use?’
The answer is simple: GoPro. But it is also getting more complicated as time passes and technology evolves.
For me, it all really started with a Sony Action Cam back in 2016. Before that I’d used some early-generation GoPro cameras which are still in my collection, although these basic little ‘bricks’ have been assigned to the box on the shelf marked ‘Nostalgic Electronics’.
That elongated white Sony camera from 2016 did serve me well while I was riding a lot with my kids when they were younger. I captured many highlights of their early days on the bike, and it also prompted me to learn a little bit more about Final Cut Pro, the editing software that I still use to make my videos.
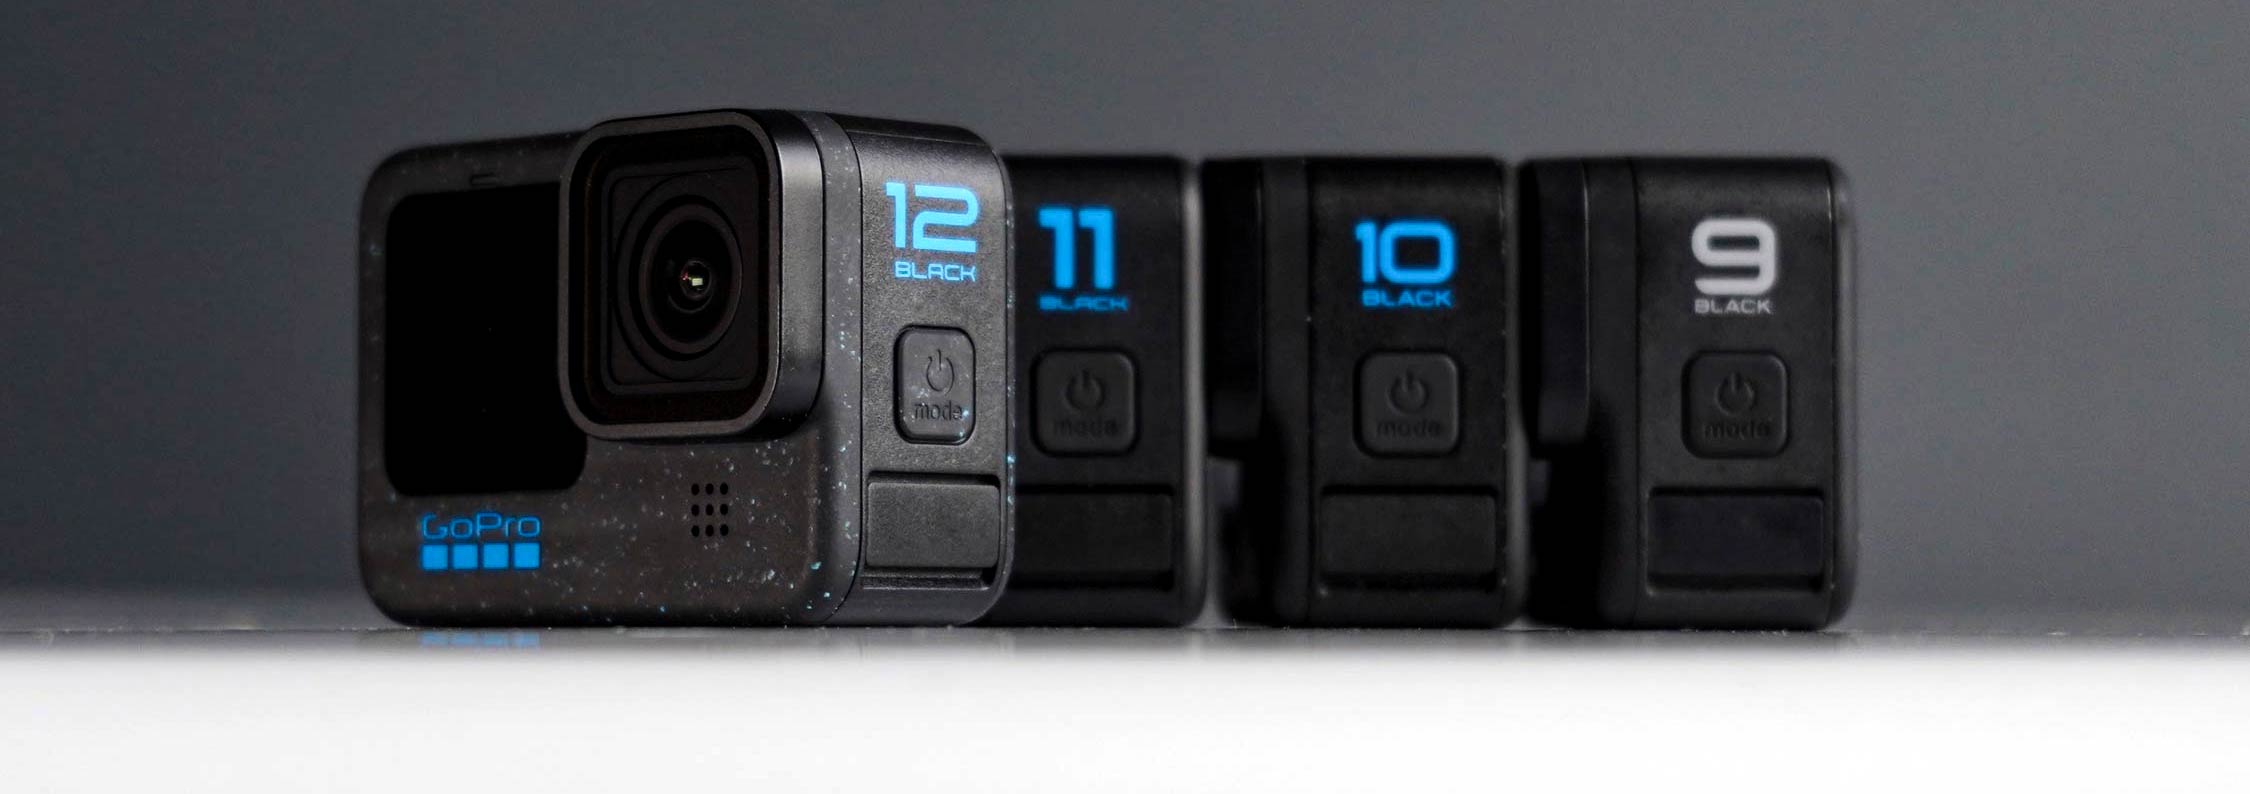
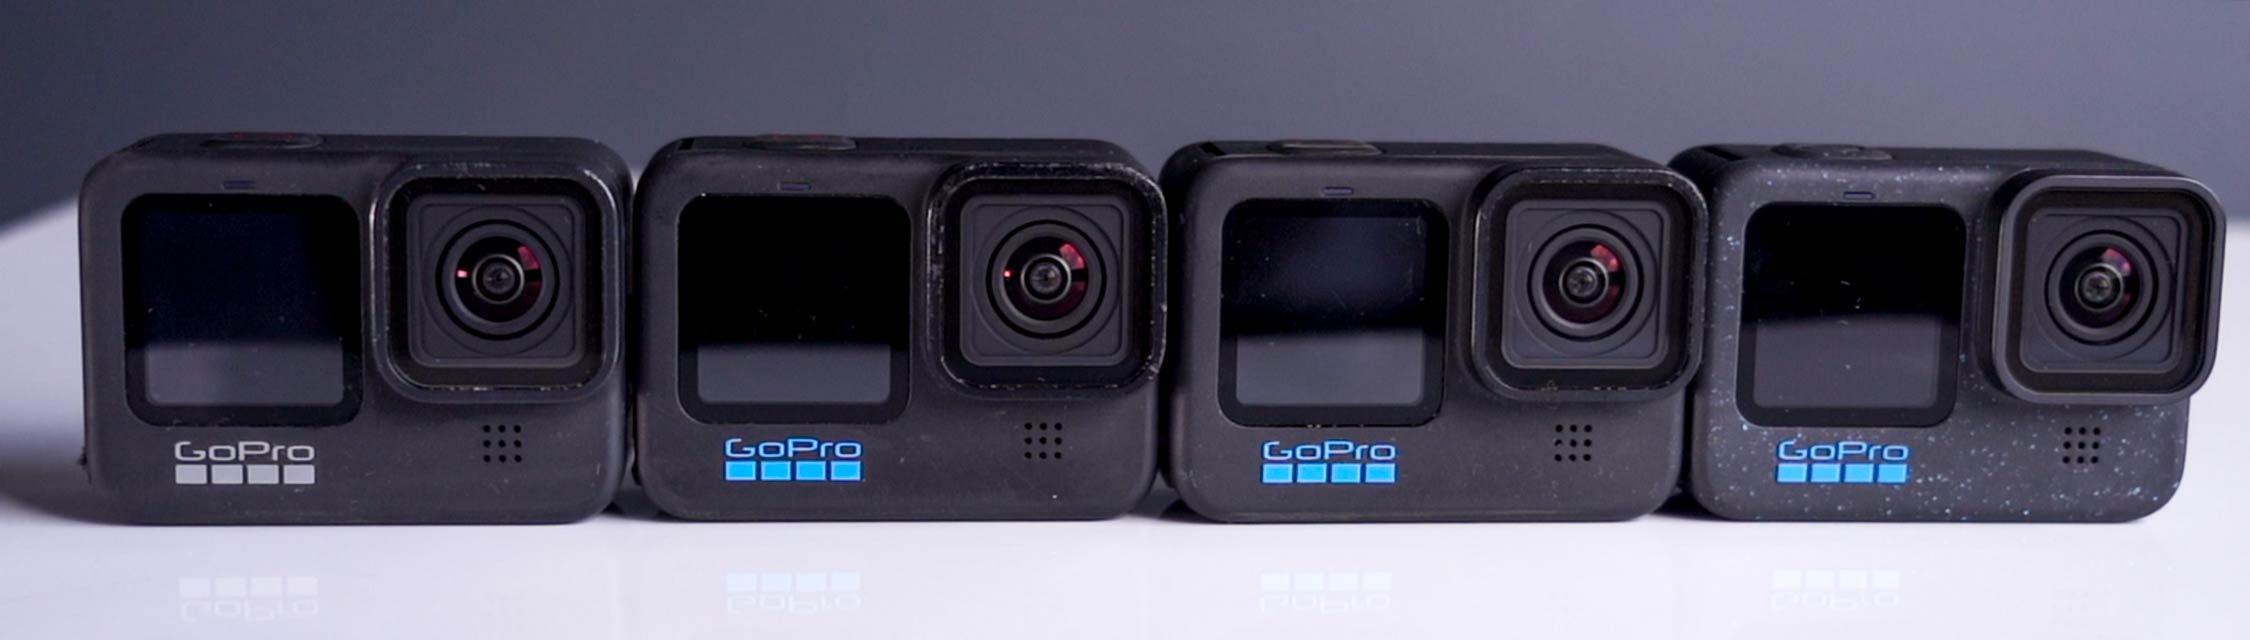
The relationship with Sony lasted through to 2019 but then GoPro released the Hero9, with significantly improved image stability, front and rear LED screens, and a host of other features that lured me back to the GoPro range.
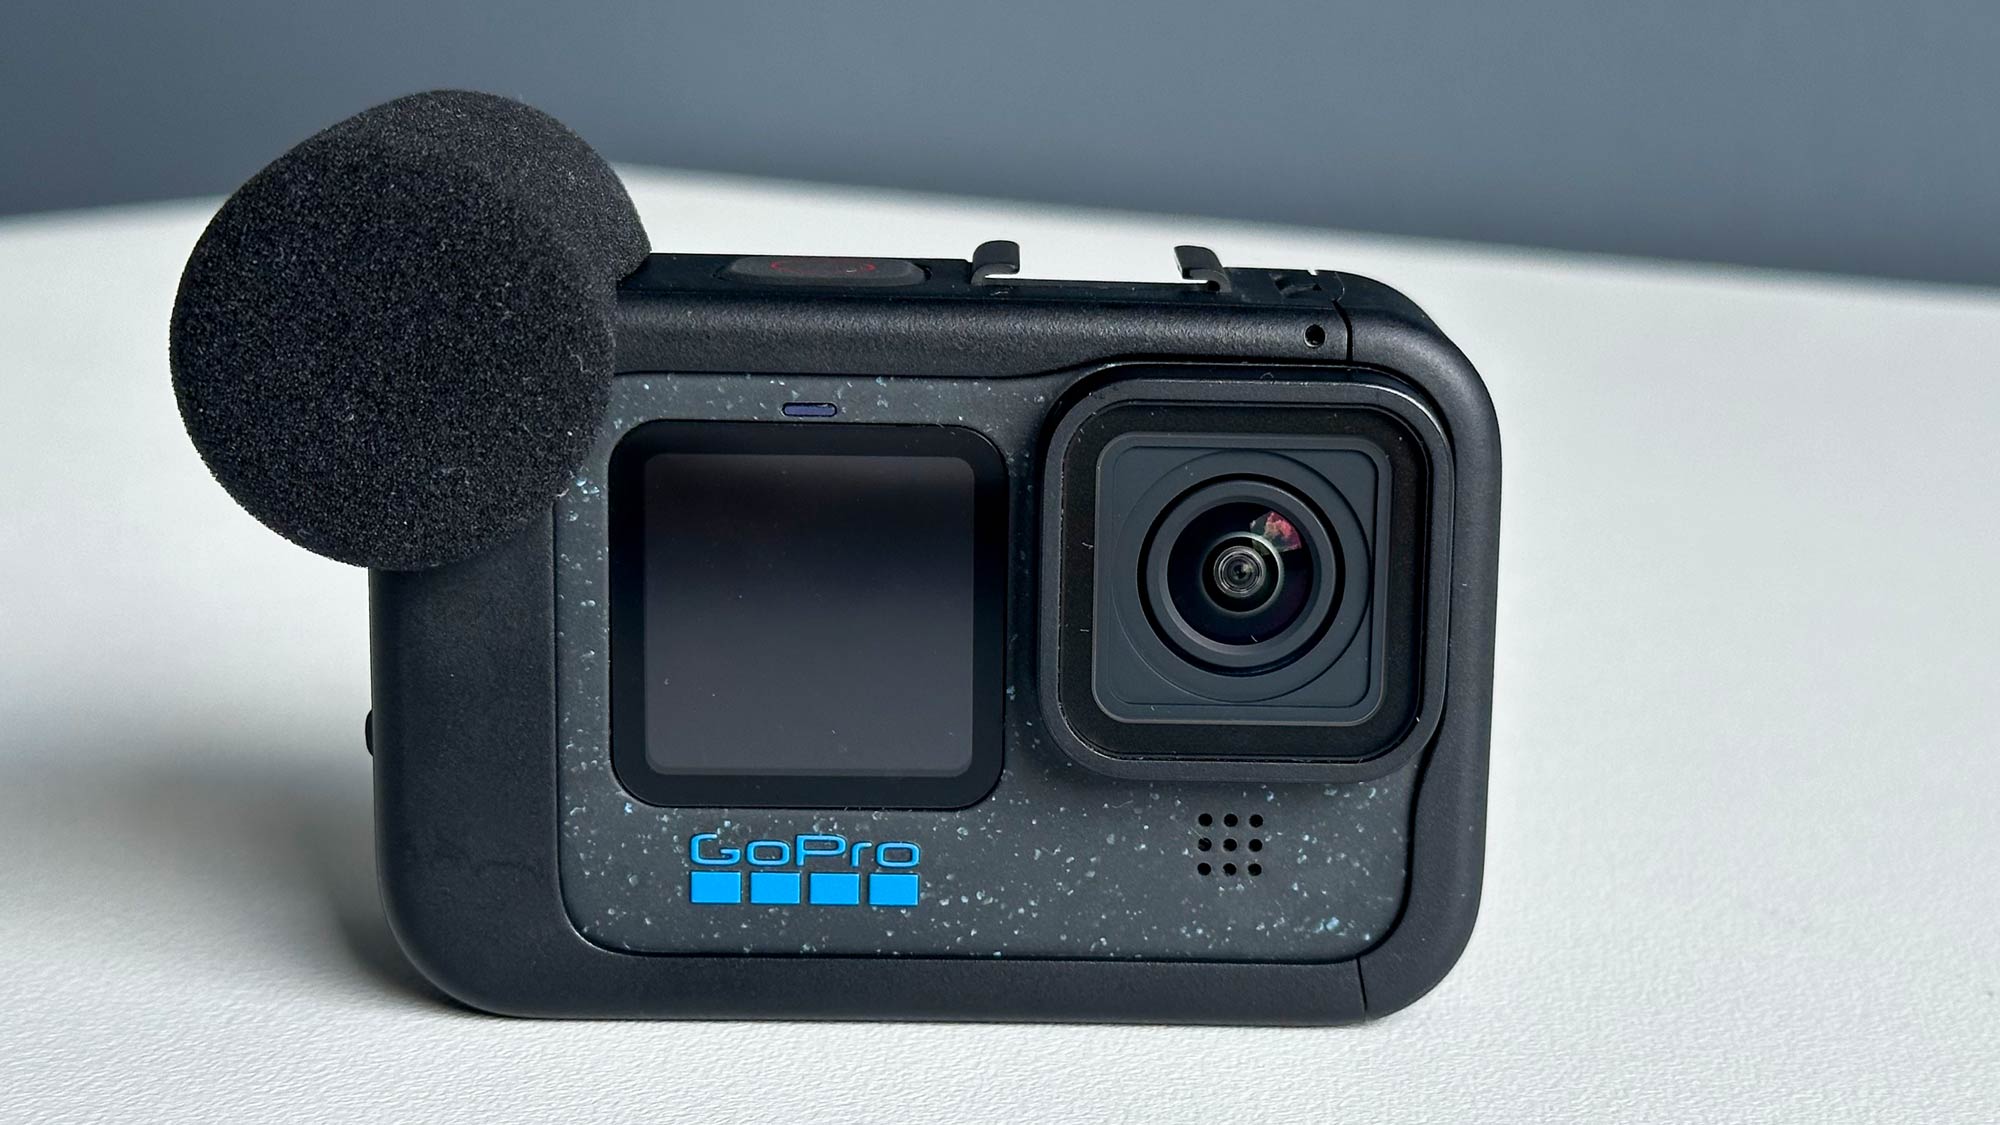
After a few rides and plenty of post-production wrestling trying and eliminate the wind noise from my videos, I capitulated and added a little more bulk to the small Hero9 package. The GoPro Media Mod is easy to fit and comes with directional microphone (complete with wind-sock – albeit one that quickly became heavily modified, out of necessity… more on that later).
GoPro Media Mod
Adding the Media Mod to the cameras in the GoPro Hero range takes about 30 seconds and it’s something I’ve now done thousands of times. Pull the little battery door off (via a hinge designed for easy removal) and then slip the Mod over your camera body, close the clip and ta-dah, you’re ready to film.
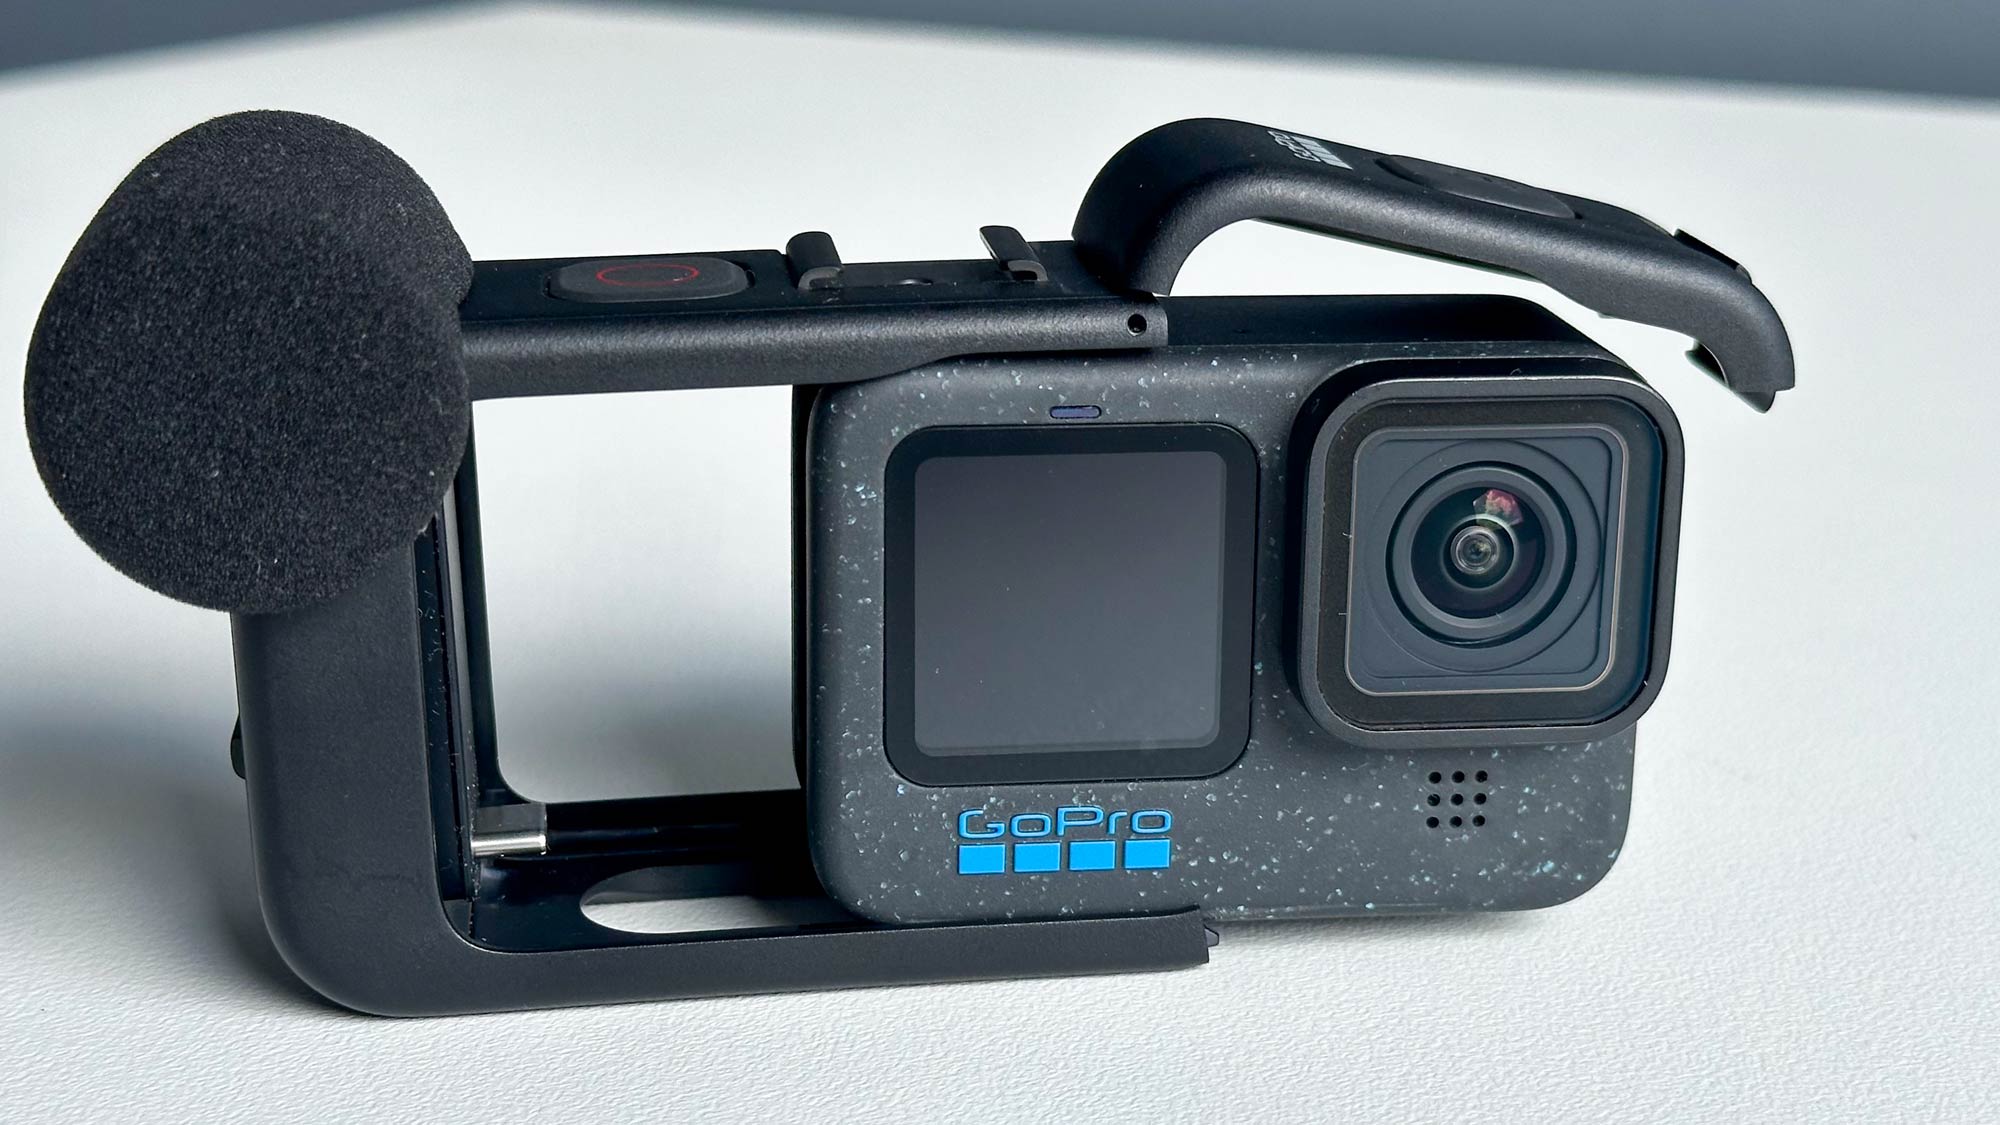
The Media Mod features two hot-shoe mounts (one which I slot GoPro’s Mini Zeus light into on darker rides), and a 3.5mm microphone port. And, interestingly, it remains unchanged since I started using it in 2019 with the Hero9.
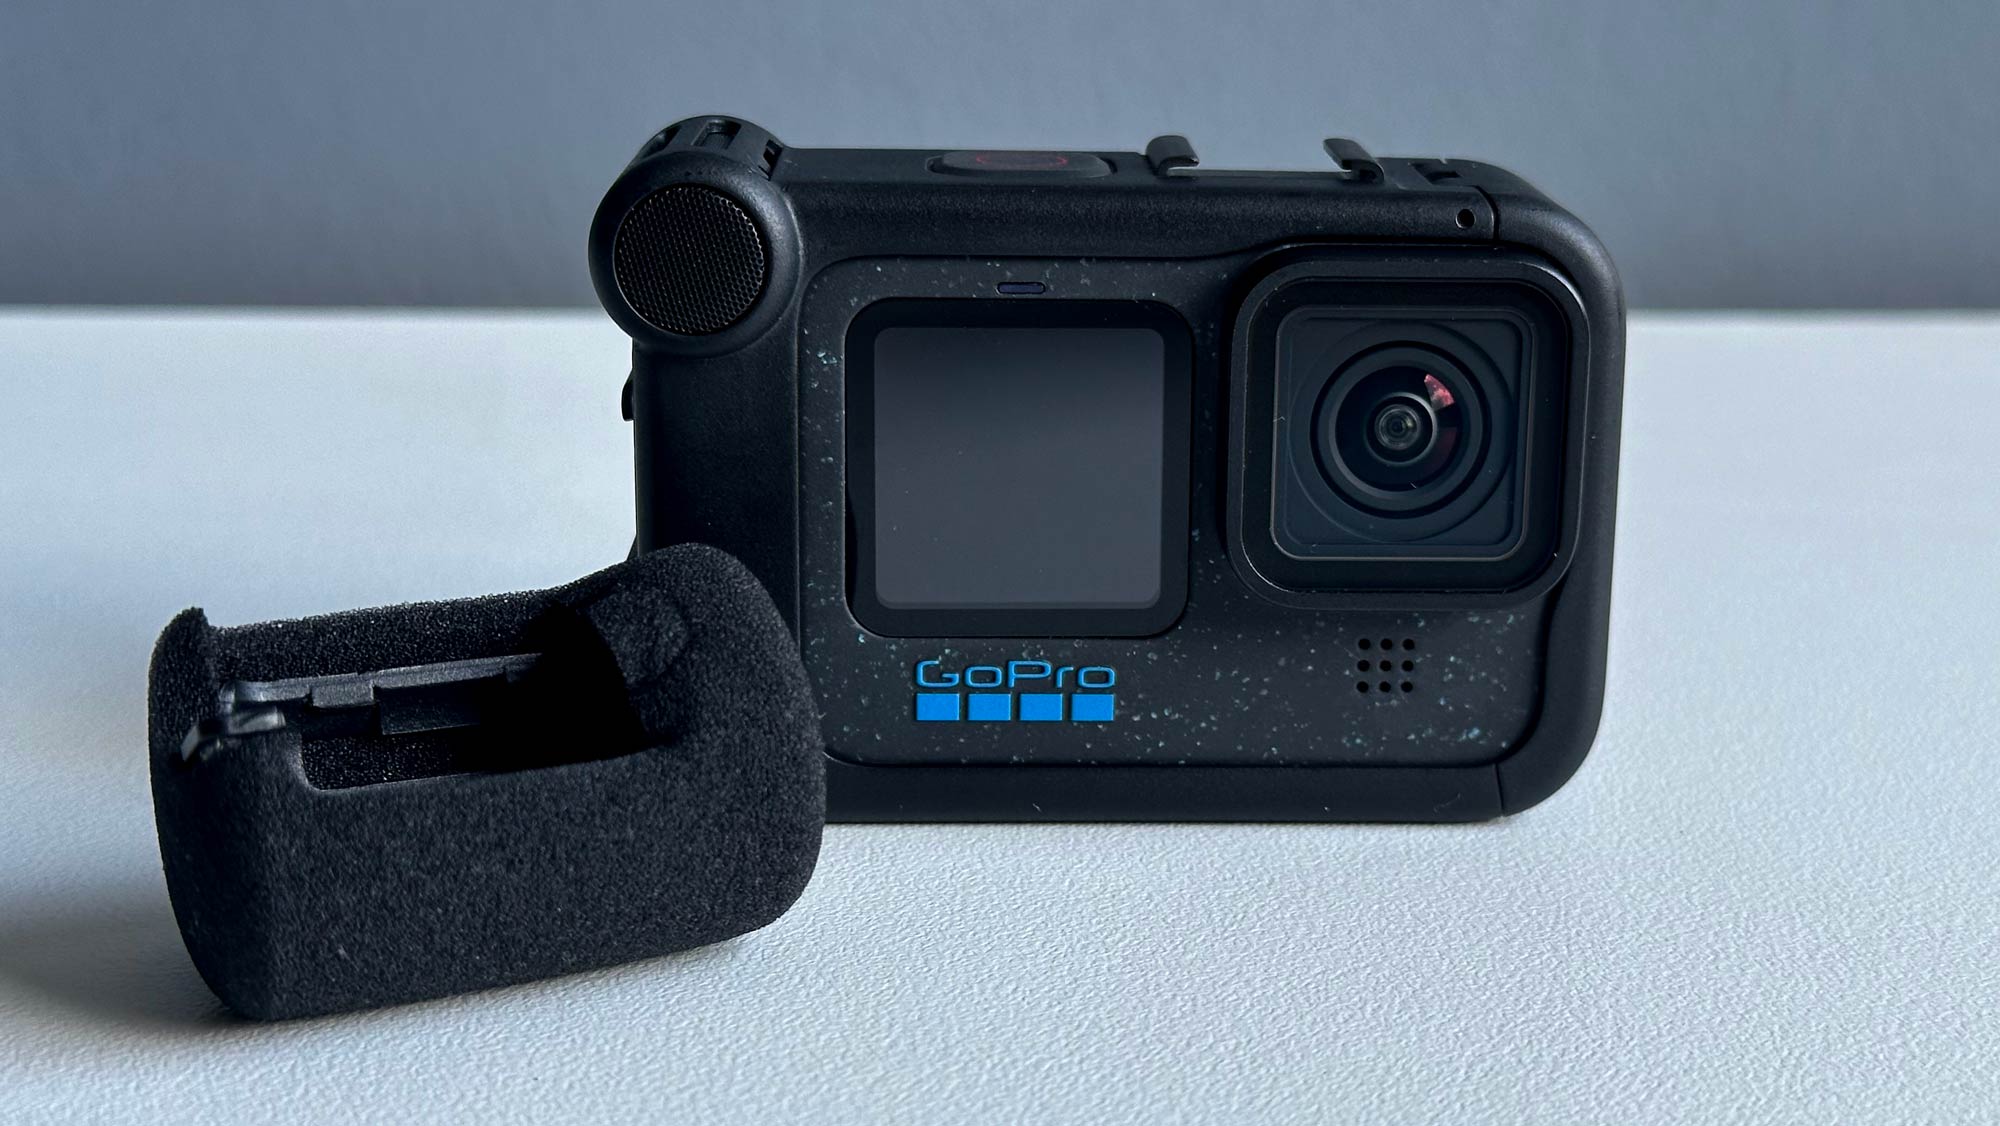
Note: the fitting that covers the microphone on the Media Mod is designed to unclip – and it tends to do that often, particularly when the camera is constantly going in and out of lycra jersey pockets. I learned this quickly.
I can also state that the foam that covers the removable clip looks great when new… but it doesn’t take long before it becomes torn, dishevelled and in dire need of replacing. And the frustrating thing is, GoPro does not sell this mount as a separate accessory.
I tried to keep my original foam covering for a few rides too many before tossing that ripped up mess into the bin and learning to create make-shift alternatives. Sometimes neat, sometimes slapped together in a rush, the modified wind-socks I’ve used over the years have done the job… but it does look a little like a hatchet job.
The foam microphone cover is part of the Media Mod that needs to be carefully handled if you want it to last and still be capable of blocking the wind noise. (There is potentially an entire feature to be written about the many modifications I’ve done, but I’ll leave that for another time.)
The same Media Mod has ridden with me as I’ve gone from Hero9 to Hero10 to Hero11. There were a couple of rides with it attached to the Hero12 but eventually the time came for me to lash out and get a fresh one. (The current Australian RRP = AUD$129.95 and in my appraisal it’s a most worthwhile investment.)
My GoPro setting preferences
The field of view on the Hero12 is easier to refine (from 1.0x to 1.4x at increments of 0.1) and adjustments via the touch screen are easily managed even when on the bike.
The basic setting I usually use for filming while riding include: 16:9 aspect ratio, 5.3k resolution, a frame rate of 60, with the lens set to ‘Linear’ with ‘Horizontal Leveling’ turned on.
Other details include turning ‘Hypersmooth’ on, Sharpness is set on ‘High’, Colour is ‘Vibrant’, and wind noise is reduced dramatically thanks to the Media Mod (and later refined with some post-production tweaks in Final Cut Pro).
When I want slow-mo, I switch from my ‘Action’ setting (as referenced above) to ‘Cinematic’, adjusted to my preferences – ie. 16:9 aspect ratio, 4k resolution (as 5.3k is not an option at 120FPS), and a frame rate of 120. Some shots on the Thredbo Valley Track video (embedded at the top of this page) were captured with this setting but none were slowed to 0.25 during post-production, at least not in this particular video.
The Hero12 also has the option of super-duper slow-mo – ie. 240 frames per second, but HDR needs to be switched off in profile (changed to ‘Standard’) and resolution is 2.7k. I’m yet to experiment with this setting but I’ll get to that in future rides.
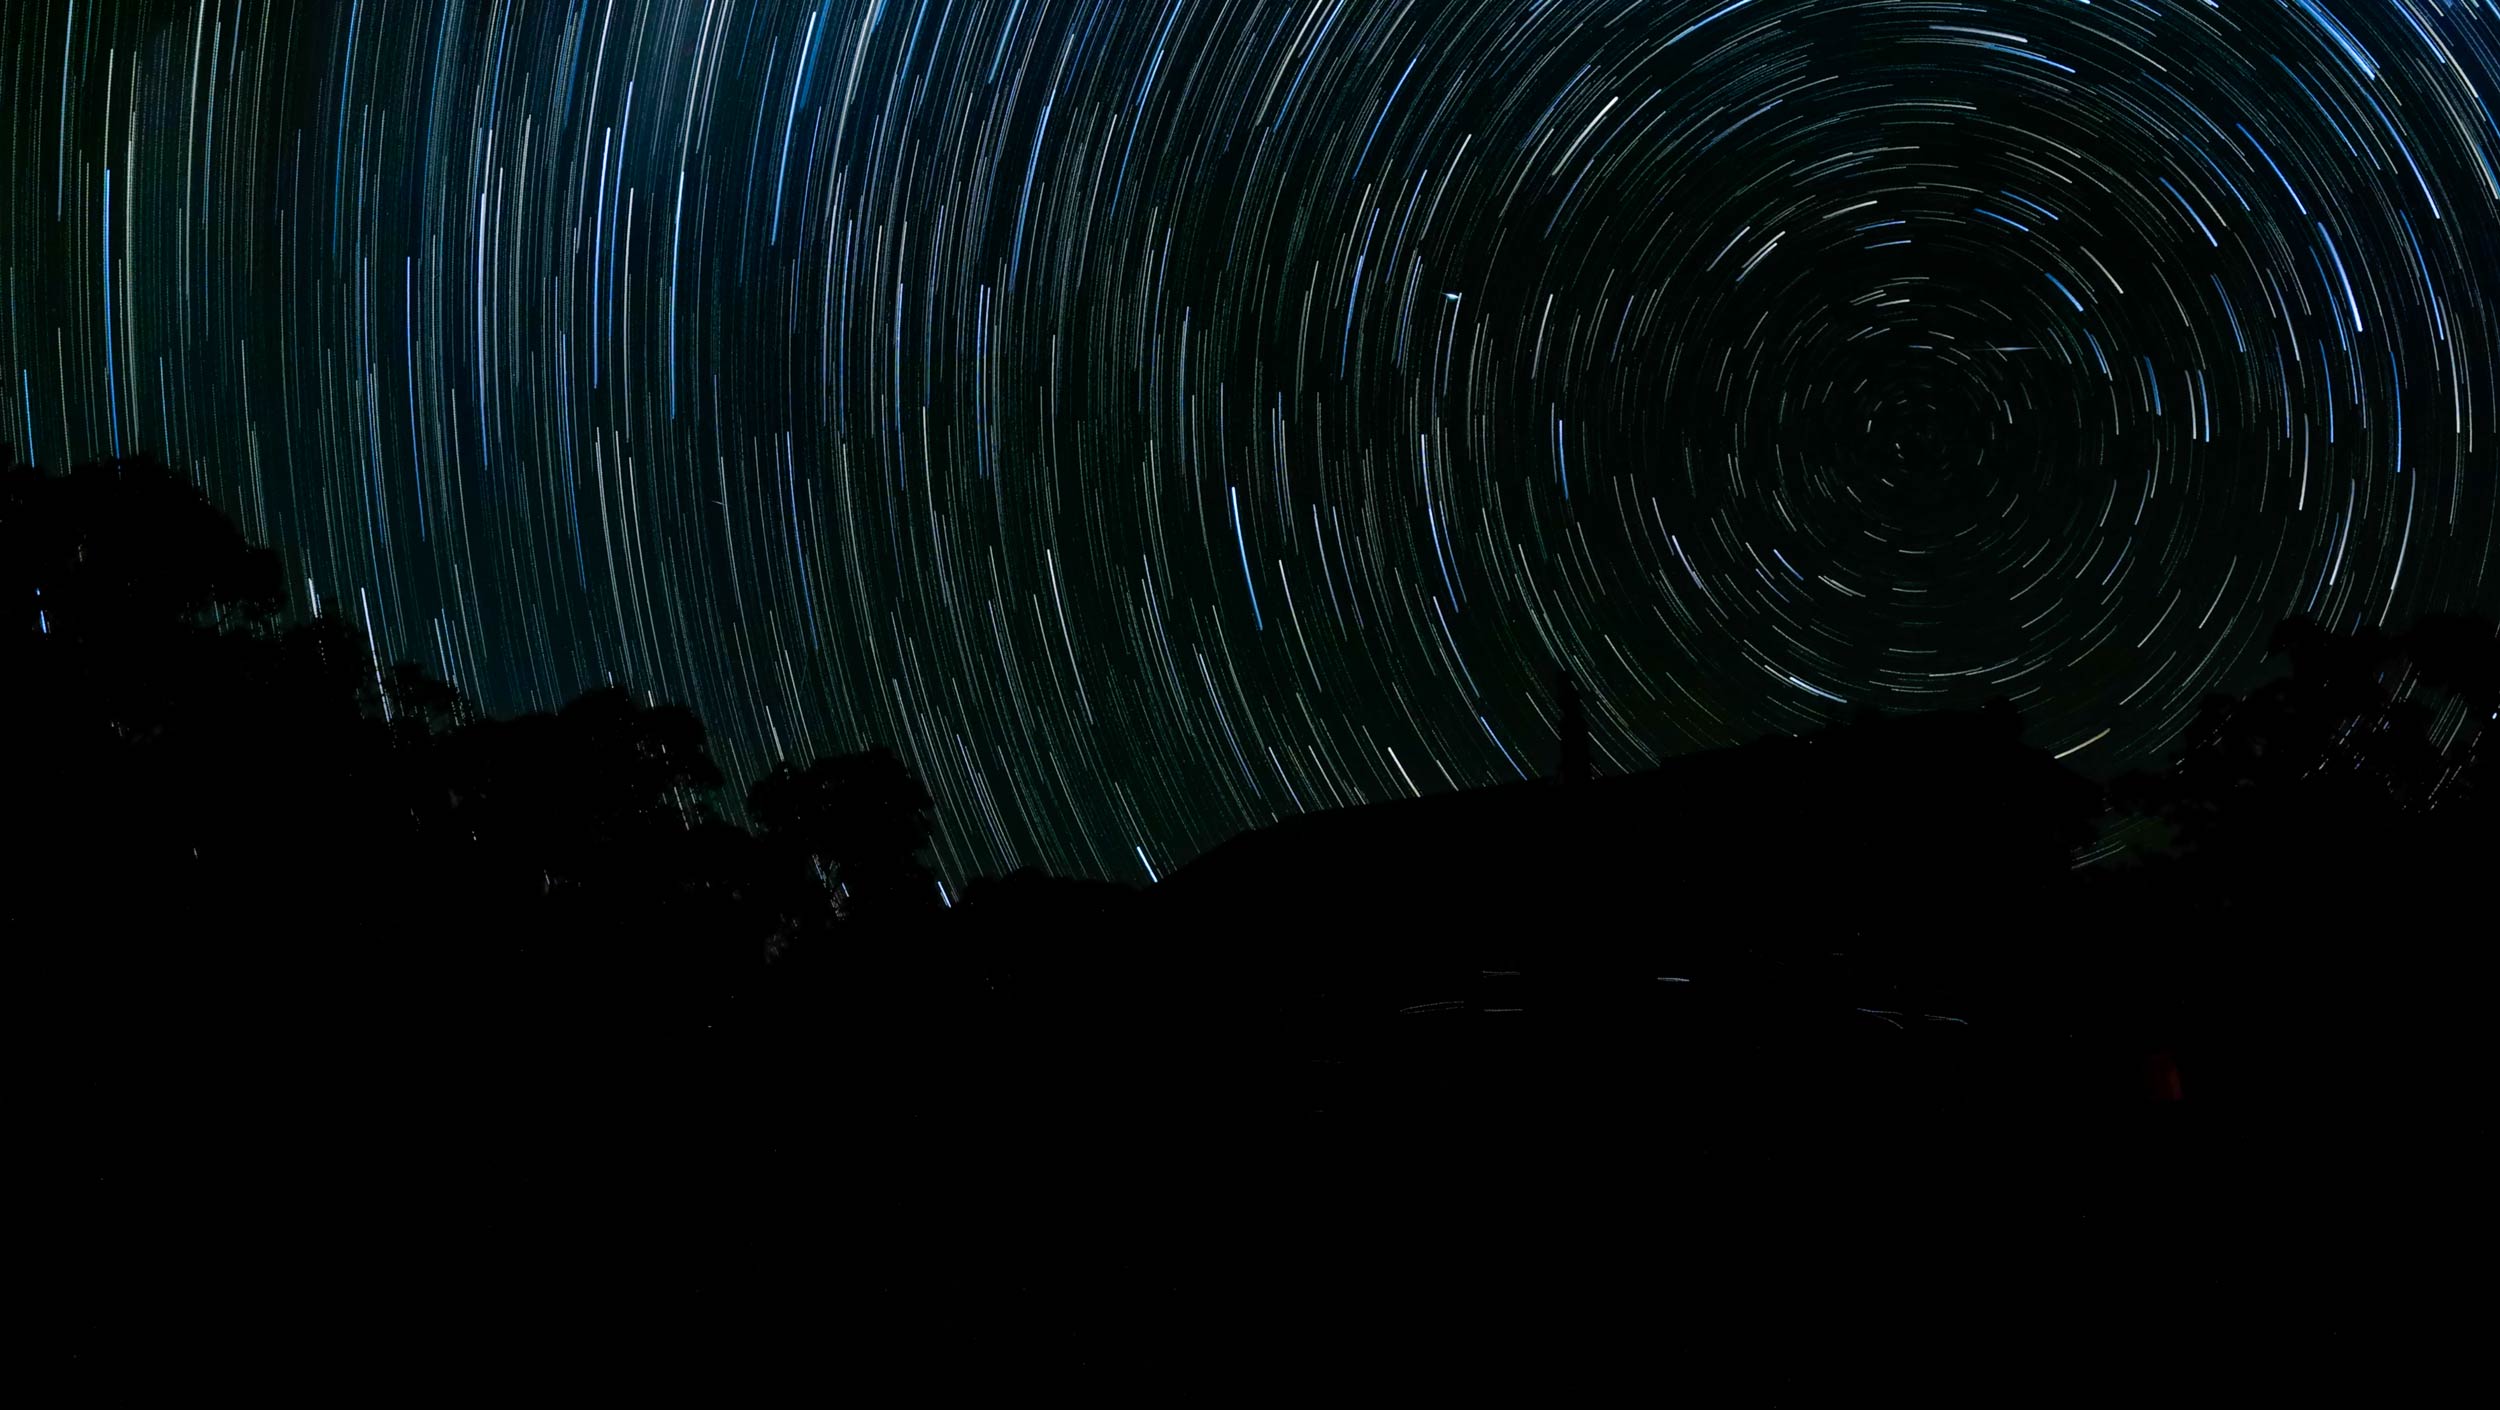
Of course the GoPro Hero12 has a range of timelapse settings as well, including ‘Star Burst’ above… but this is not something I use very often.
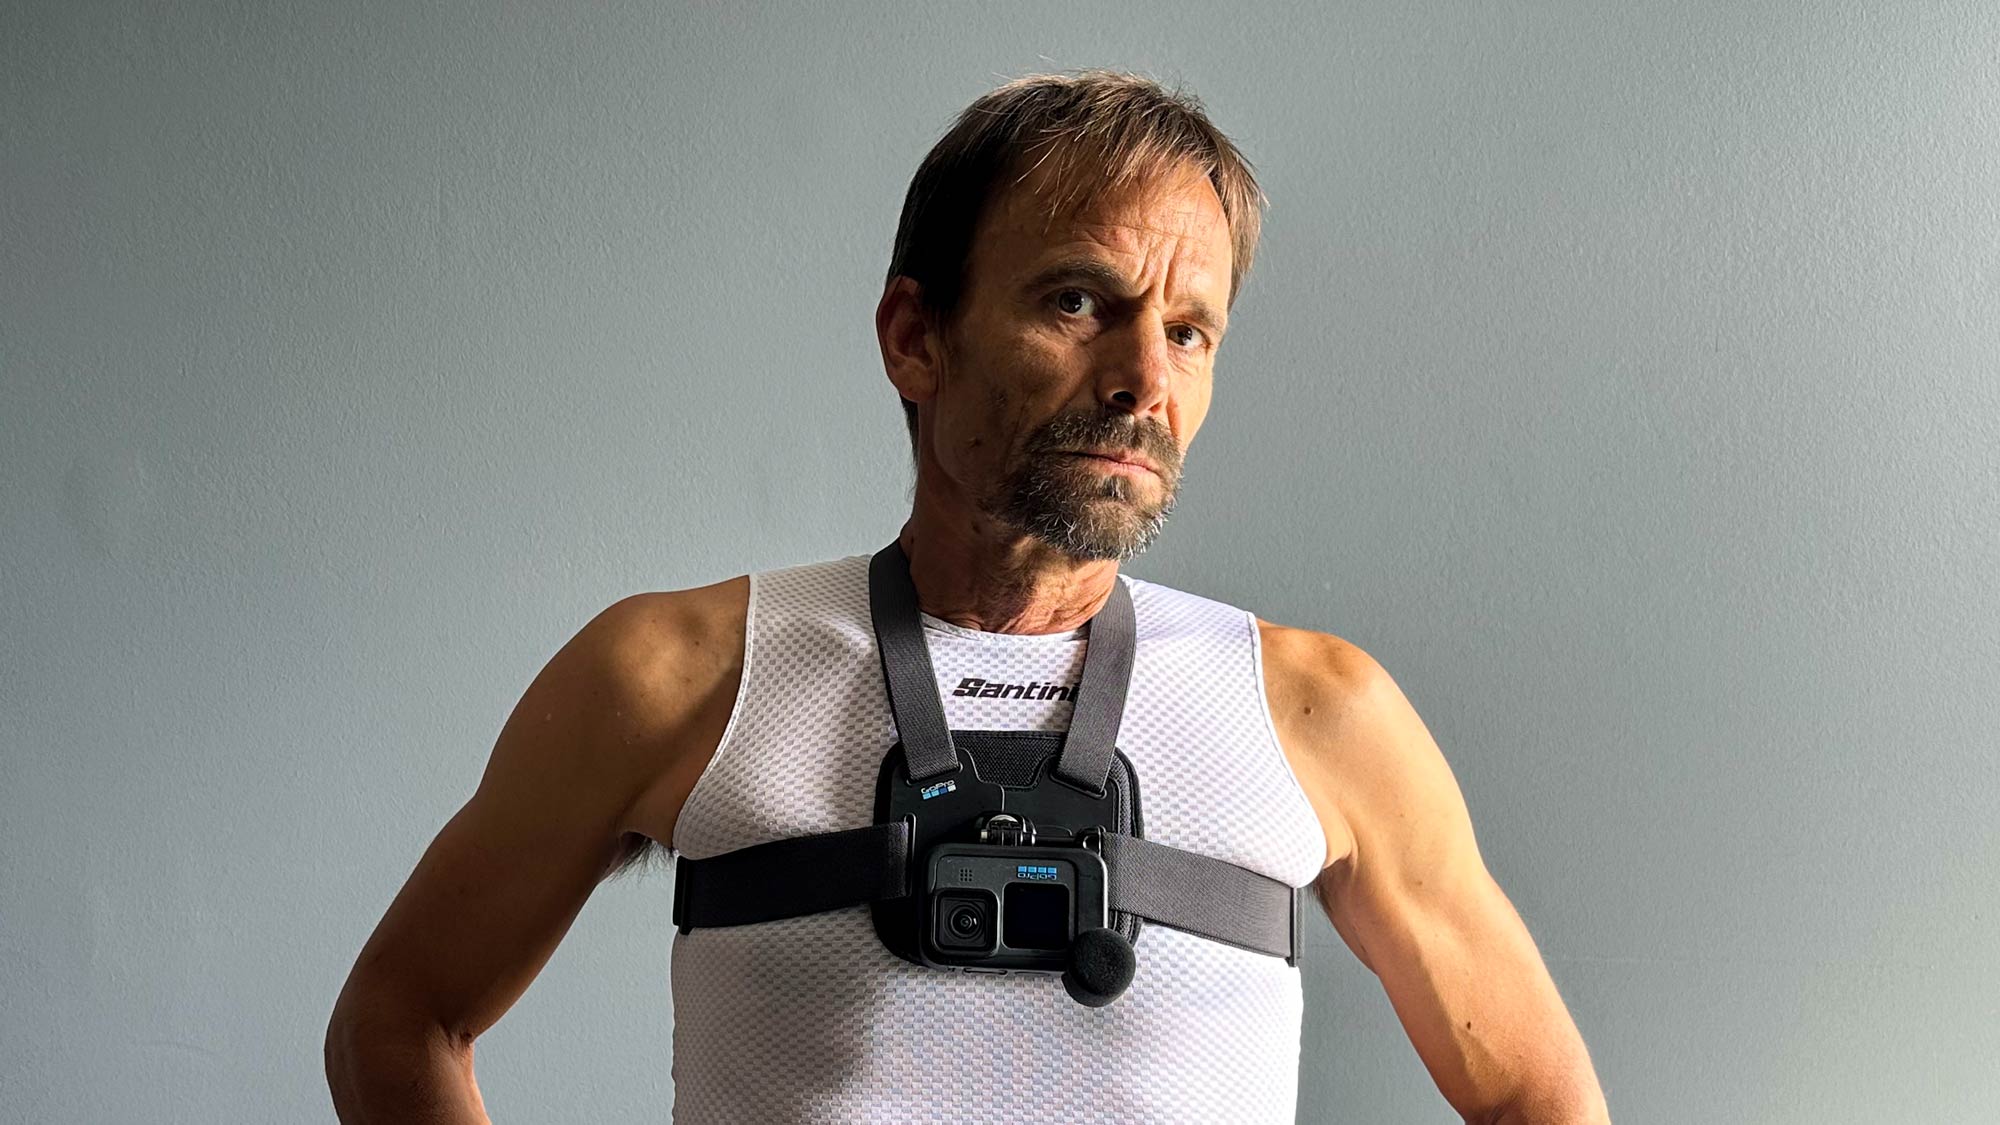
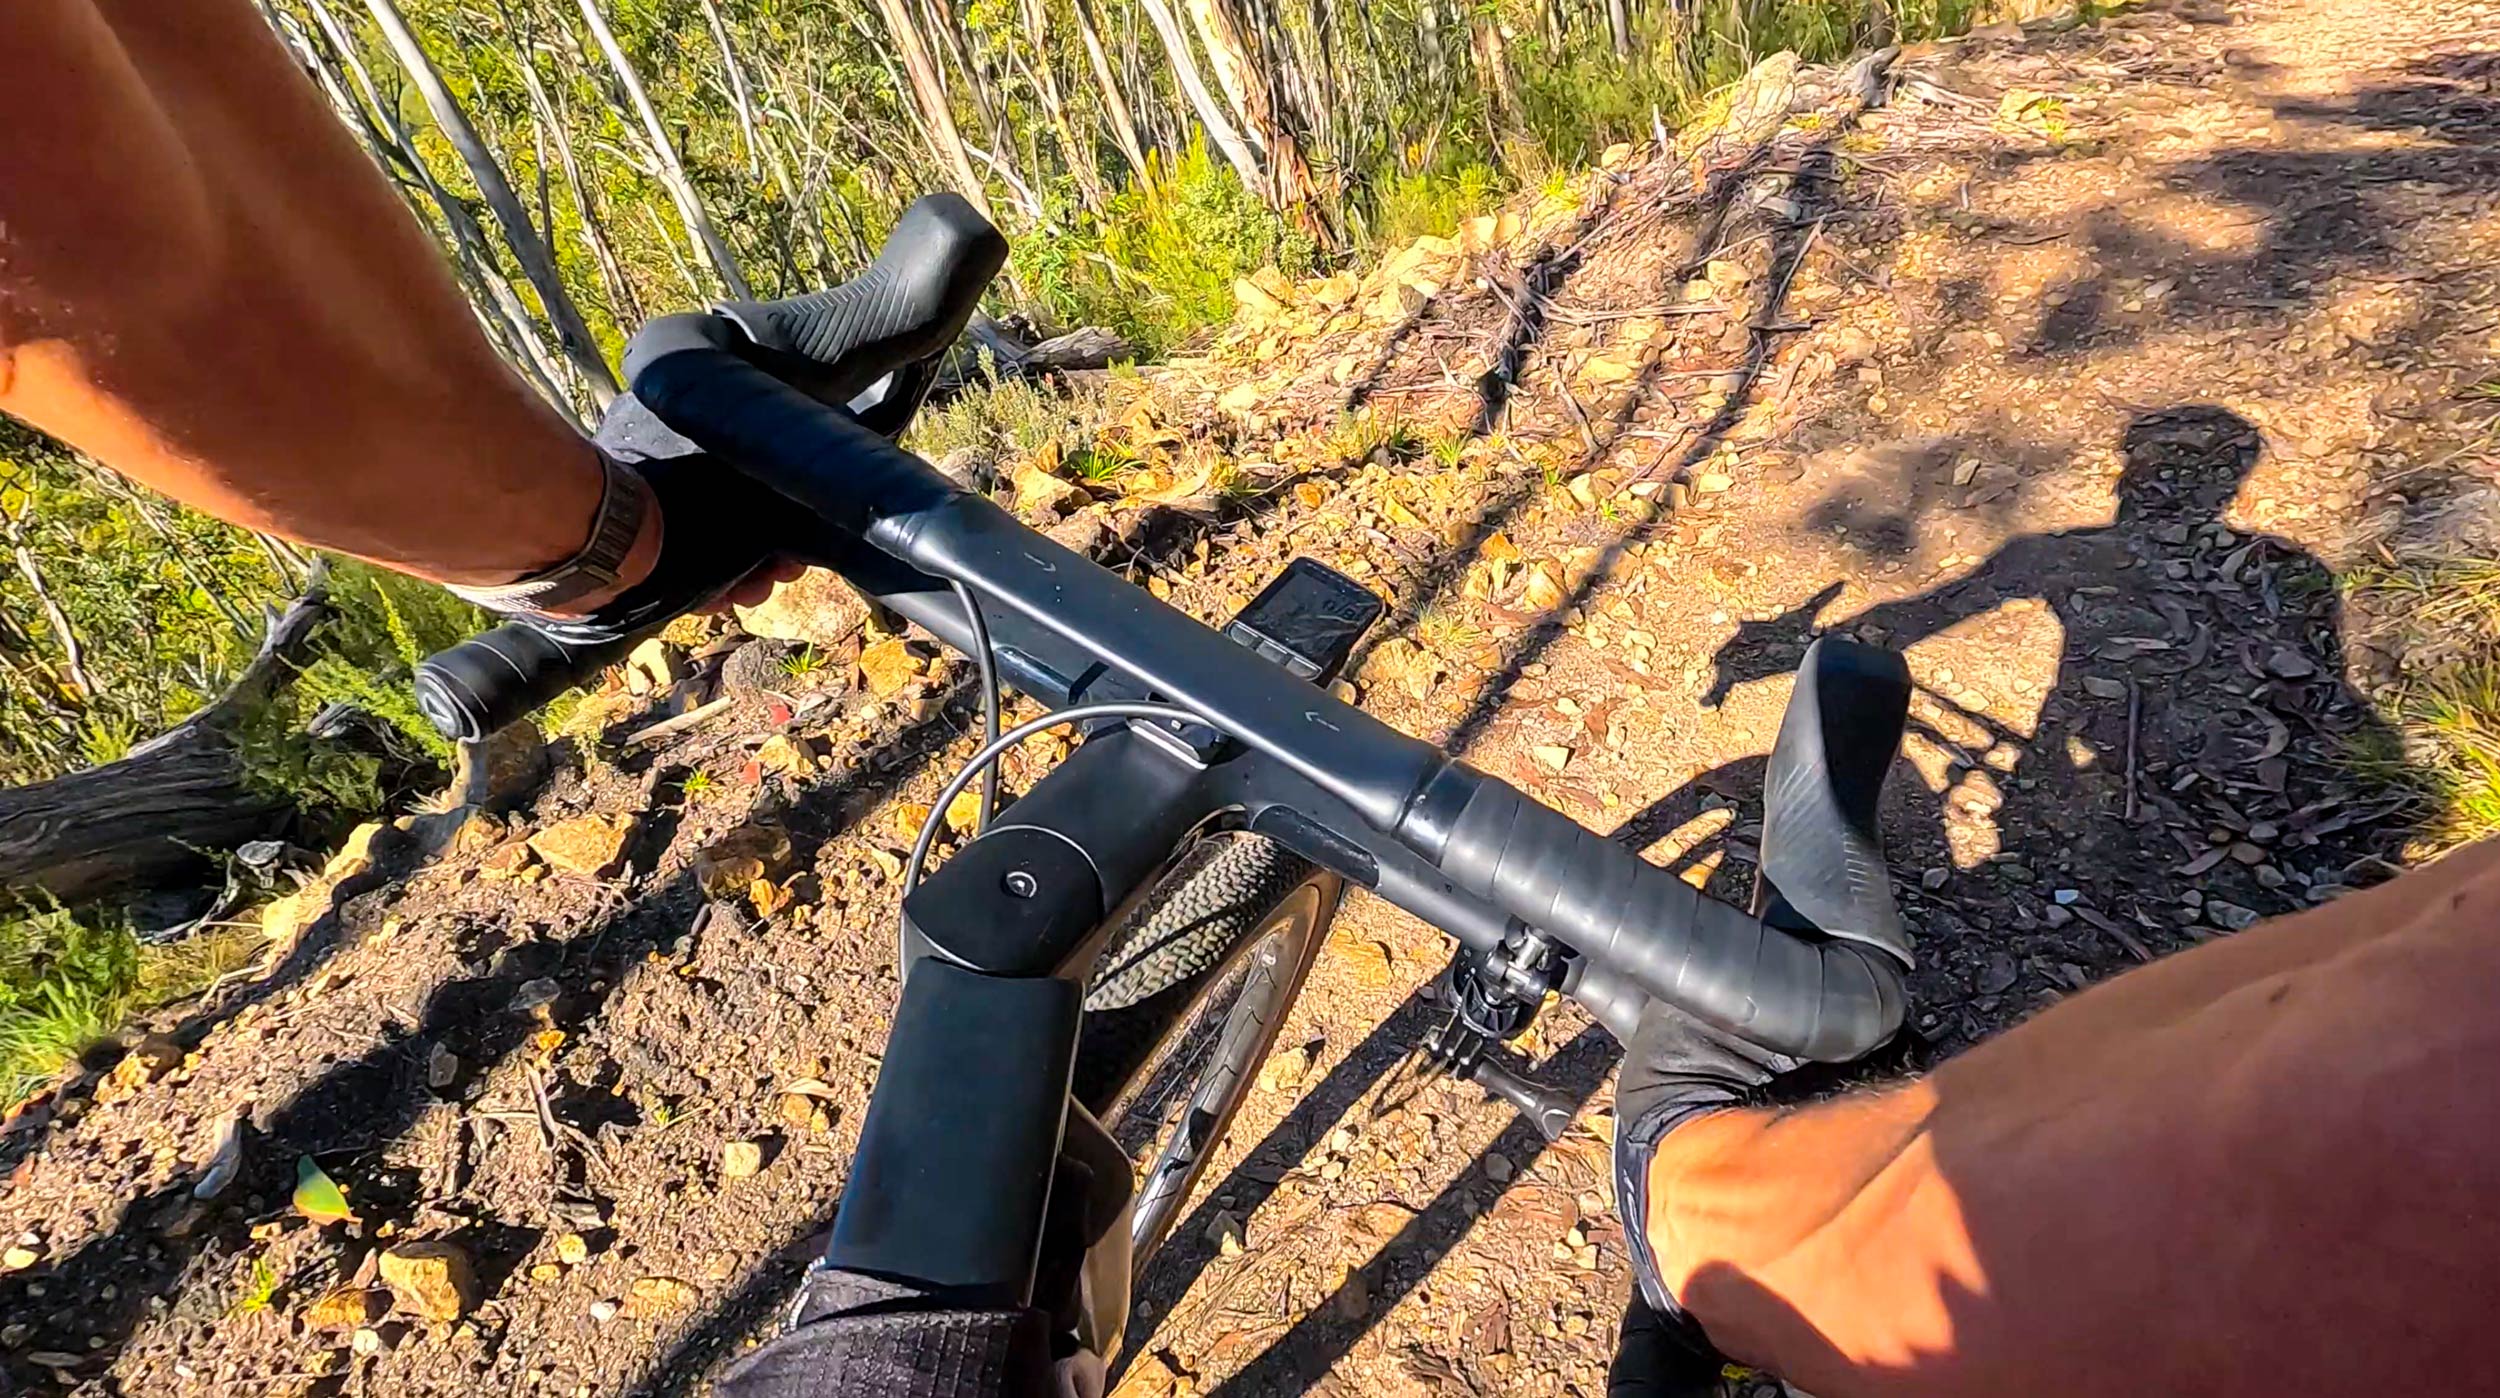
The ‘Chesty’ is something new for me. Used on one ride only, I have realised – by viewing my own footage – that I should have had the mount higher on my body (ie. as pictured) and also angled the camera more, as I was often riding with my hands in the drops of the handlebars.
Expanding camera mounting options
Only this month, after around five years of the exclusive use of GoPro cameras (when on the bike), have I lashed out and invested in a ‘Chesty’… well, it’s not exactly a huge sum (currently AUD$59.95) but I’ve never really felt the need to have it until now. This mount is popular with the MTB set and doesn’t need much of an introduction.
After only one day of using the Chesty, I appreciate the fresh POV perspective and I can see the potential for getting an array of different shots to help illustrate my rides.
The Chesty is a strap-on fitting that allows you to easily slide the camera into a mount that can be adjusted to suit your body size and shape, while also providing a variety of angles.
Managing the camera mounted to the Chesty is simple and although I’ve set some of my GoPro cameras to use the voice control option, it’s easy to just push the record button manually. (This is my preference.)
New view: ‘Derailleur Cam’
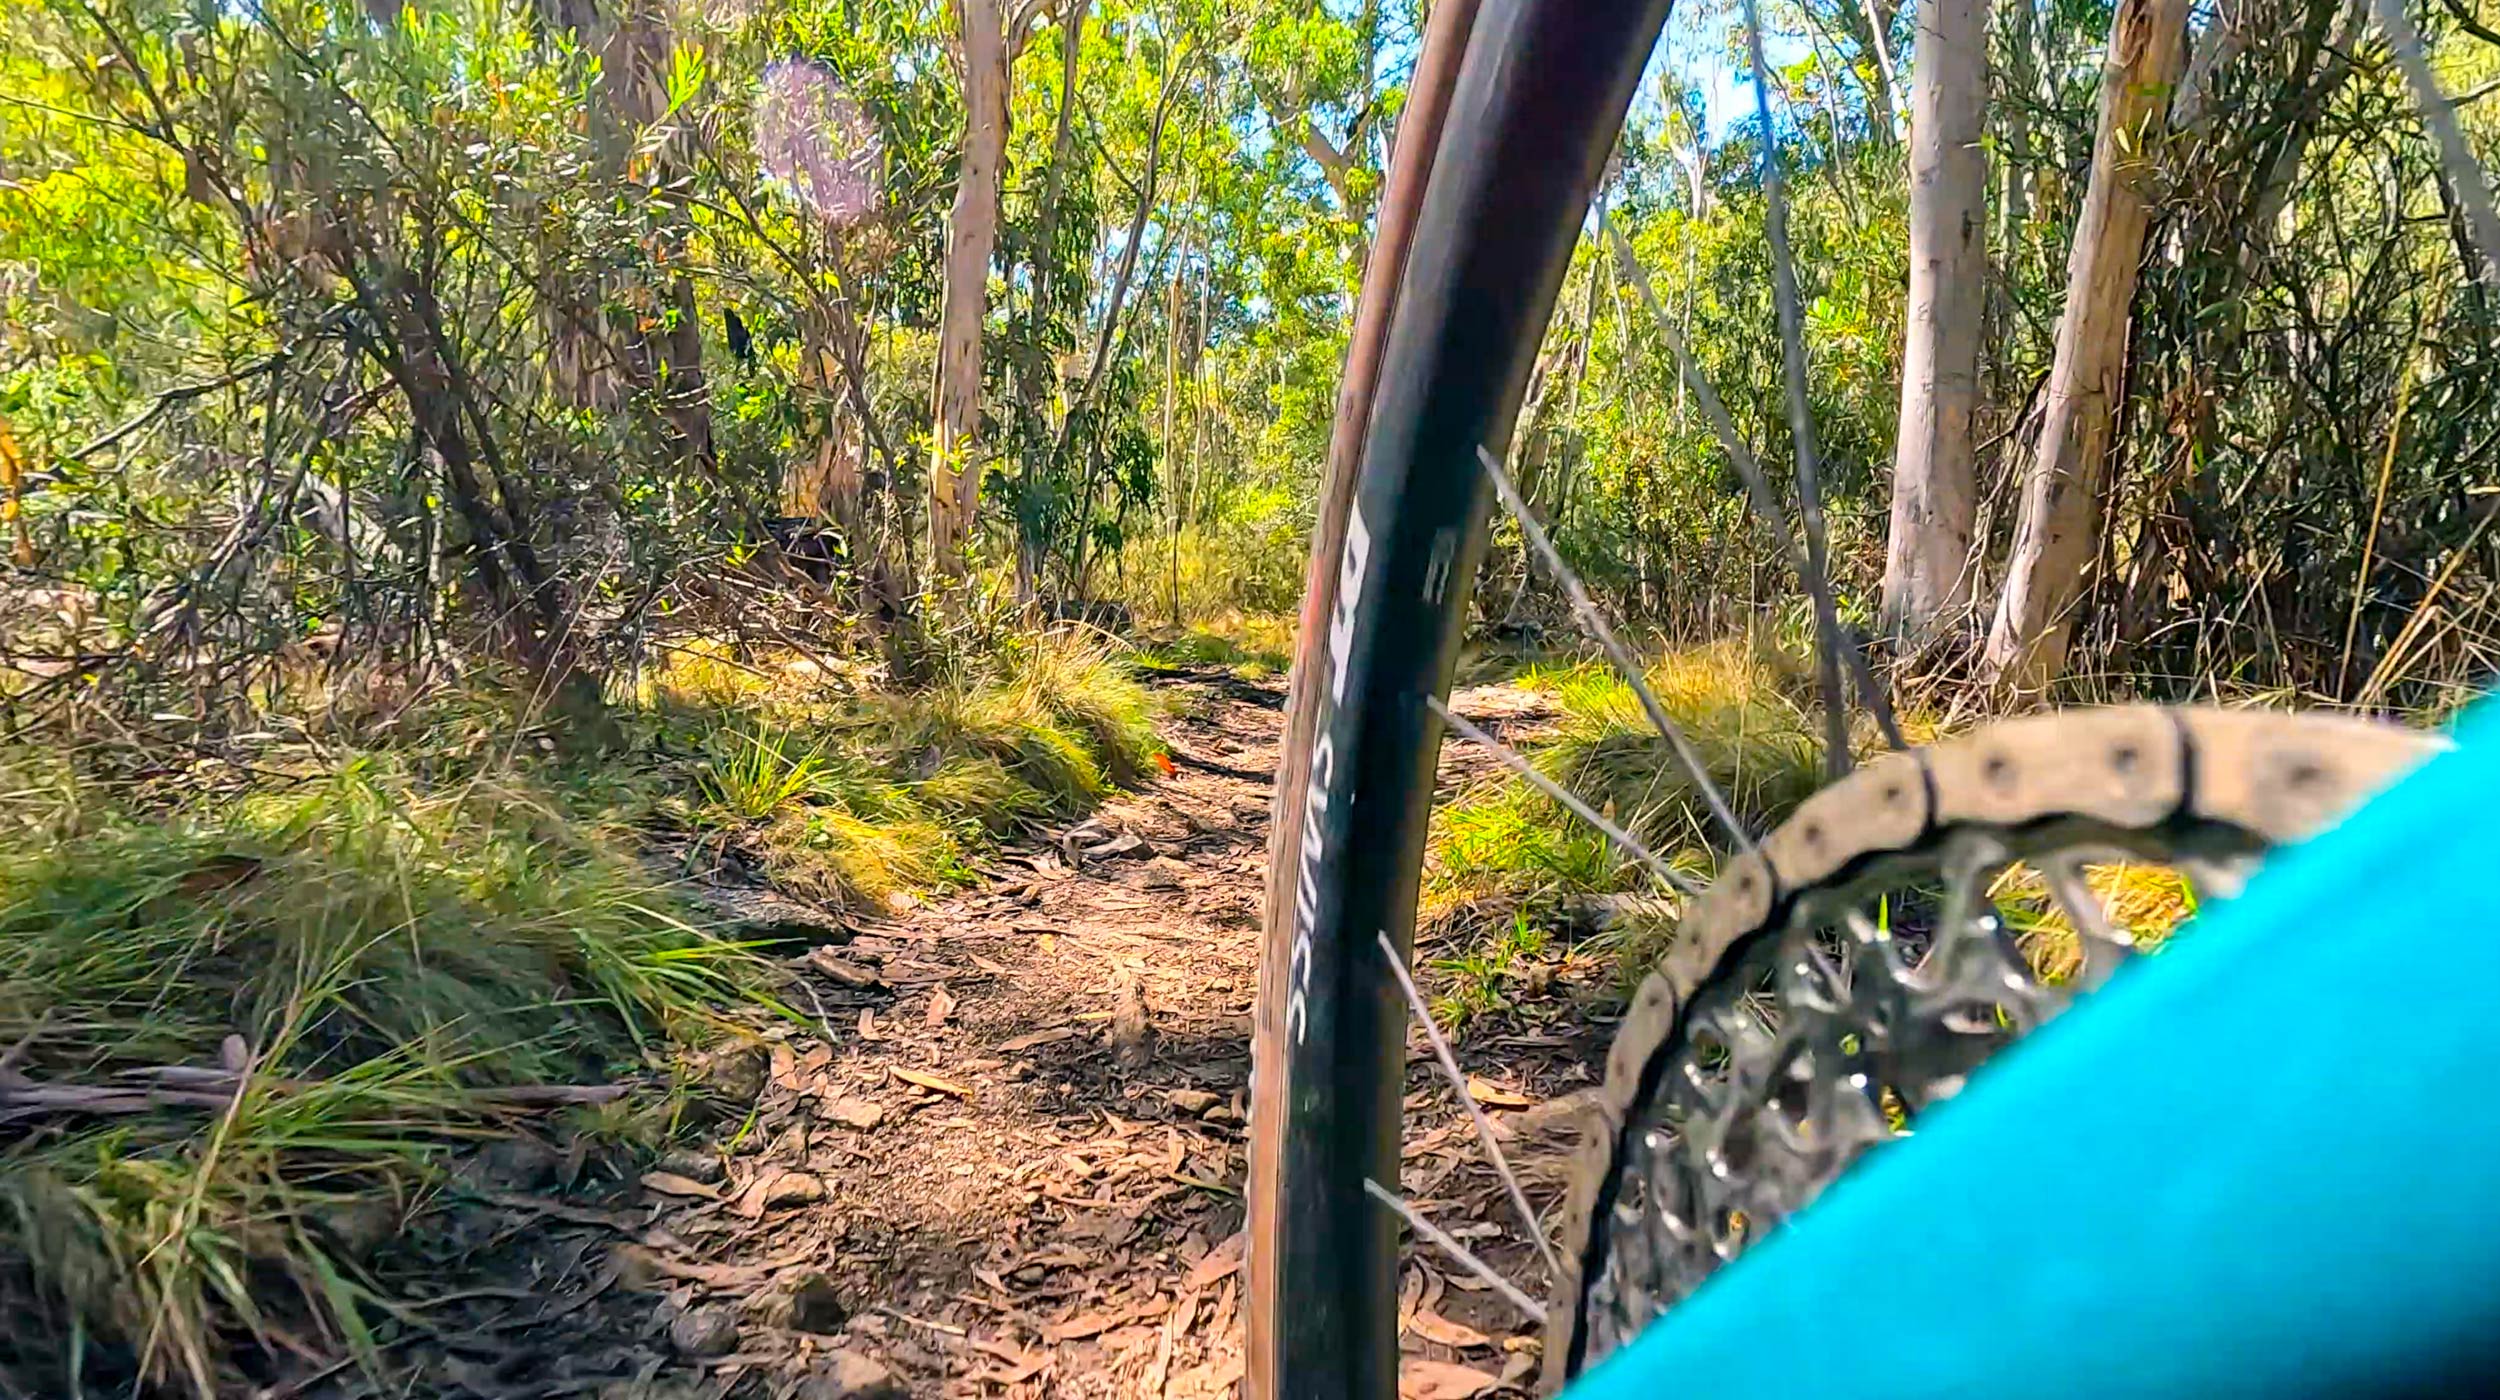
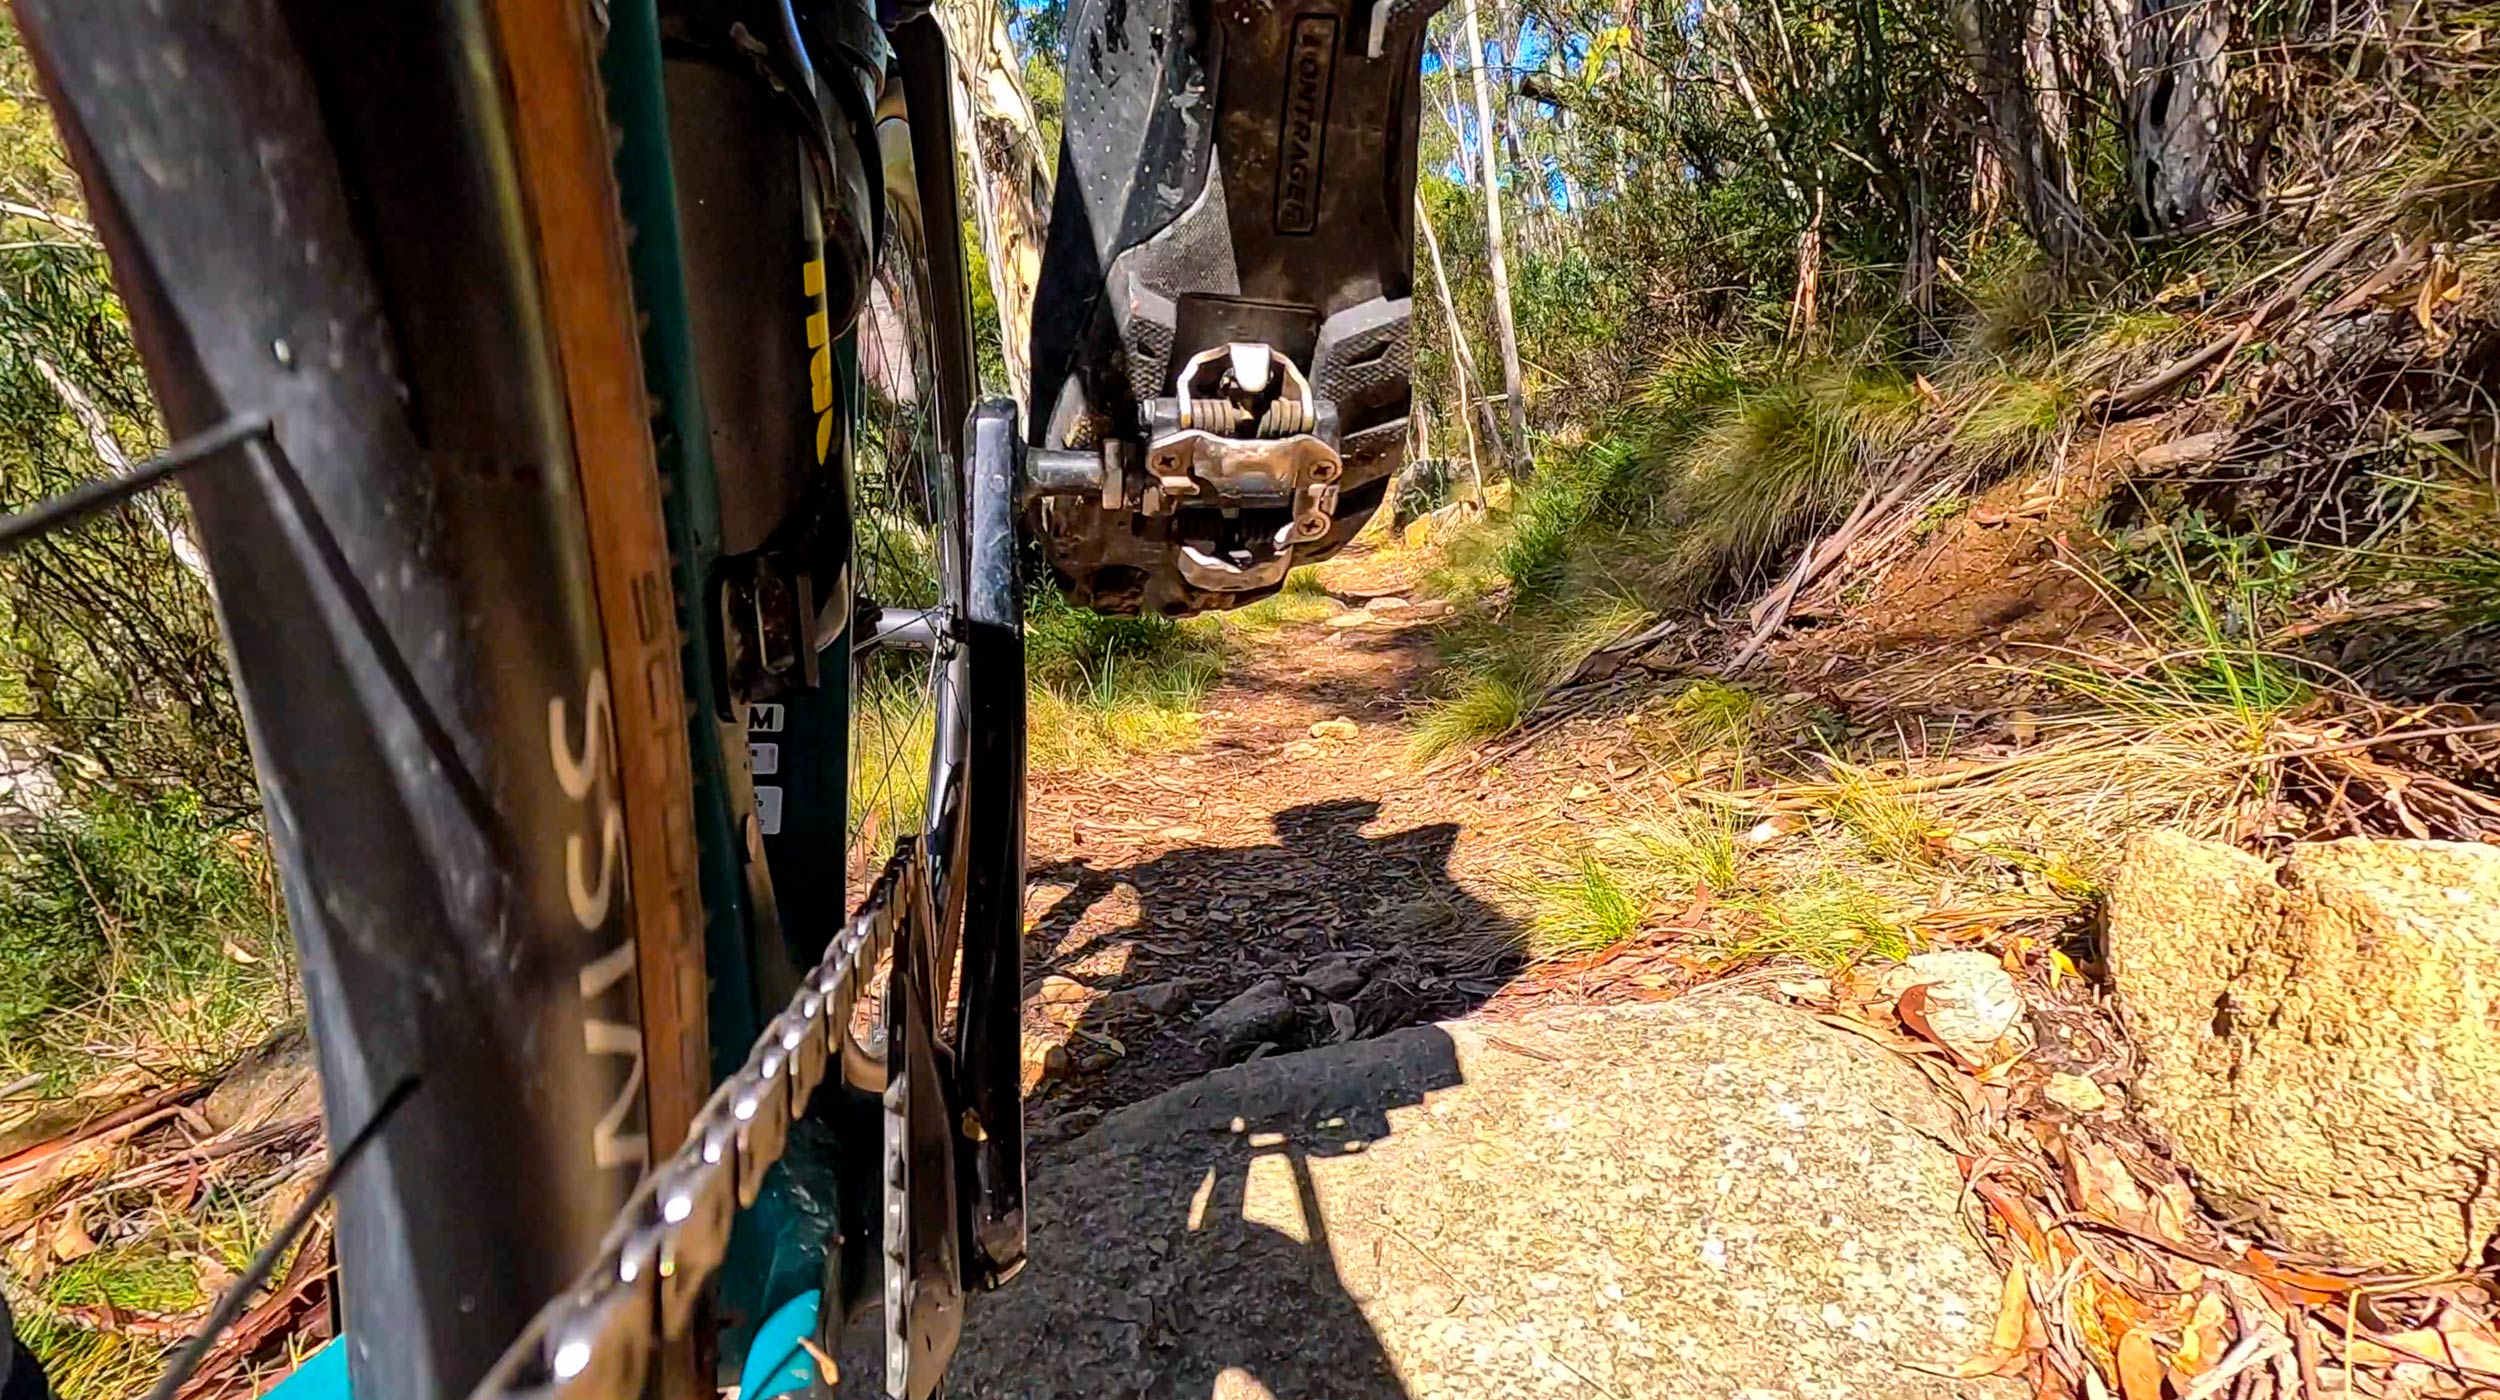
During my ride on the Thredbo Valley Track, I also experimented with different camera angles, using the GoPro handlebar / seat post / pole mount. At one point on the trail, I attached the fitting on the right-hand side chainstay, positioned far enough back on the frame to avoid interfering with my foot during the pedalling action.
While riding, I thought the footage wouldn’t capture too much vision of the trail… and that the image would essentially show more of my shoe than the surrounding beauty. Still, the vision from the GoPro Hero11 (which I moved from the bracket underneath my computer mount) surprised me somewhat.
Yes, you see plenty of my Bontrager MTB shoes, as well as the chain, cranks, and pedals… but you also get a different perspective of the trail with the camera facing forwards (see image below).
A quick stop to turn the camera around allowed me to capture the trail as it speeds by behind the rear wheel (see image above).
The fastening bracket has sufficient rubber to minimise the risk of the camera moving and although I didn’t film huge swathes of the ride during these experiments, I saw enough footage from that angle to believe it’s interesting enough to try again. It’s a different angle and it also highlights the stabilising feature of the action cameras.
GoPro’s ‘Horizon Leveling’ setting does a great job managing the motion even when there was a lot of direction changes on the multiple switchbacks of what is a fantastic, fun trail to ride.
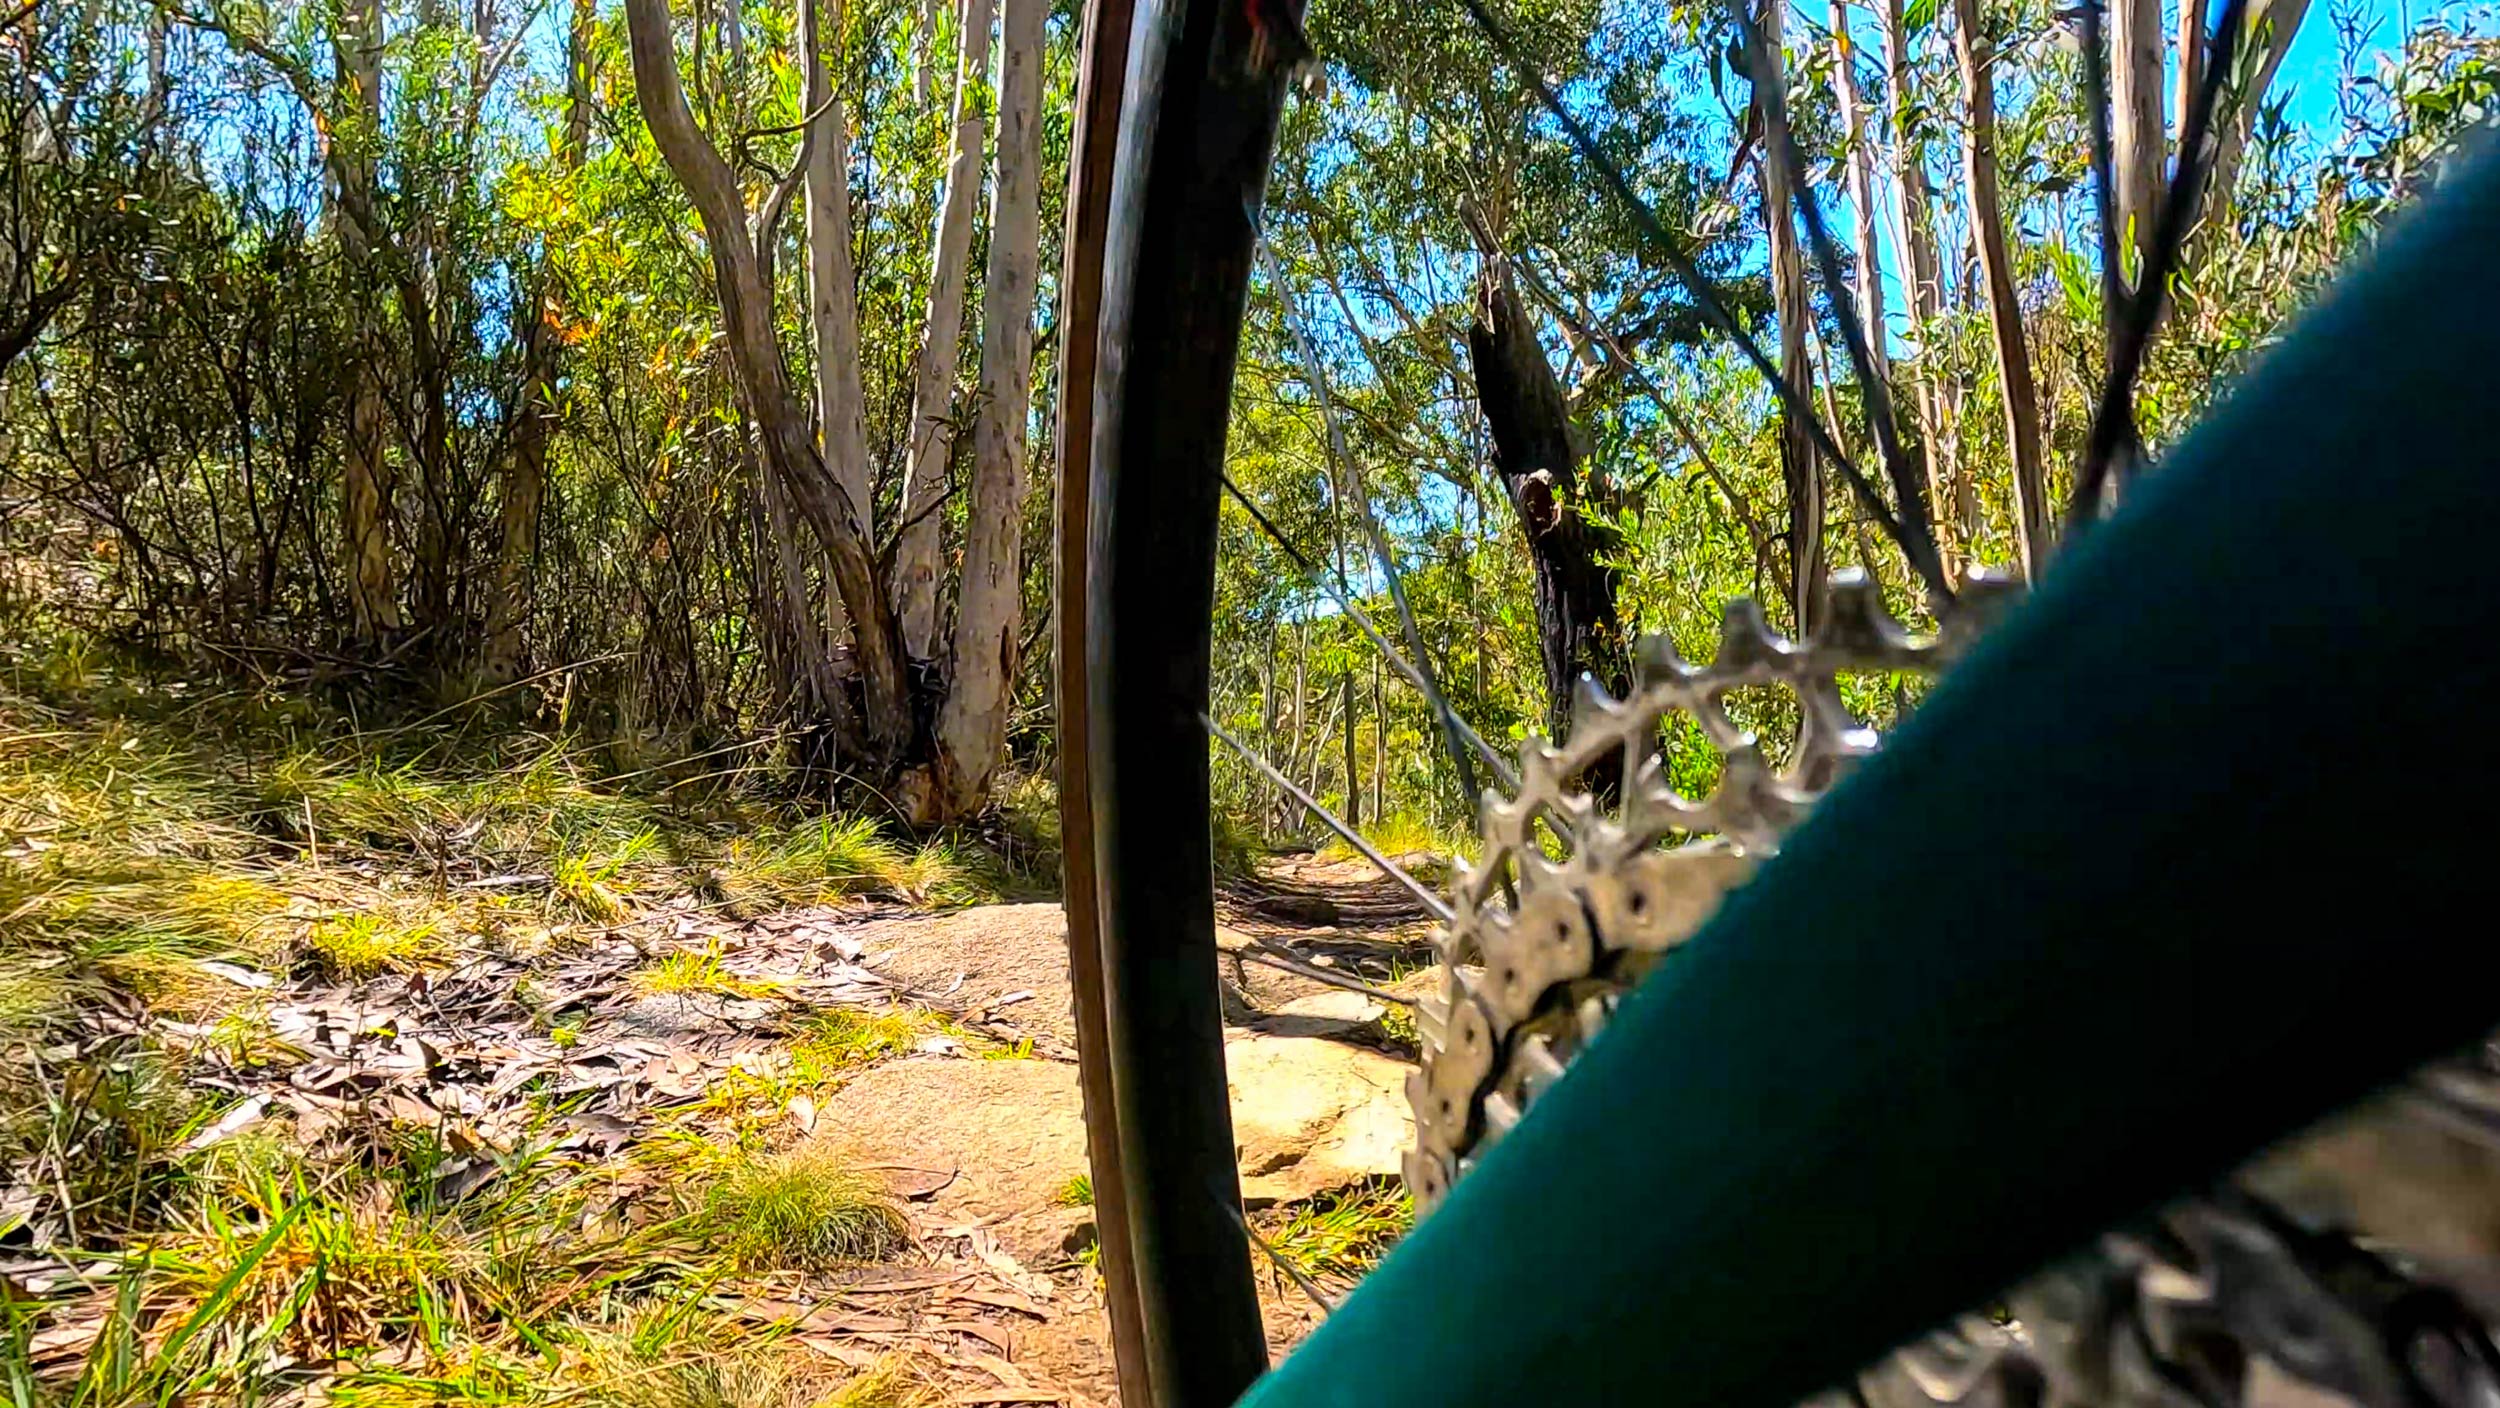
This last experiment during my ride in the Snowy Mountains involved unfastening the mount from the chainstay and reattaching it to the body of the SRAM Rival derailleur, just down from the direct-mount bolt, and above the battery bracket.
When you watch the video, you can see the chain gliding up and down the cassette even though it’s difficult to tell if the trail is flat, uphill, or downhill. In my opinion it looks great and provides a perspective that nicely showcases the speed and technicality of what was, at times, quite rough terrain.
Not once did the cameras shake loose while riding but I was mindful to not push it too hard as there is a risk that the mount (or the GoPro itself) would tilt into the gears, chain, or spokes. In other words, it was an interesting experiment but I’m not sure if I’d position the camera there too often… and when I do, it’ll only be in controllable conditions in case I’m required to stop quickly to limit any equipment damage.

Experimenting with selfie sticks
If I’m riding and filming, I rarely do so in the company of others and I’m always mindful of the conditions. There’s a reason why there are so many familiar scenes from the #StoryOfMyRide series: because I only film when it’s safe to do so – and I know the spots on my regular rides where there’s minimal risk.
It’s worth noting that I’ve never crashed while filming and have only dropped a camera from the bike once. It bounced along the footpath a little but suffered no damage.
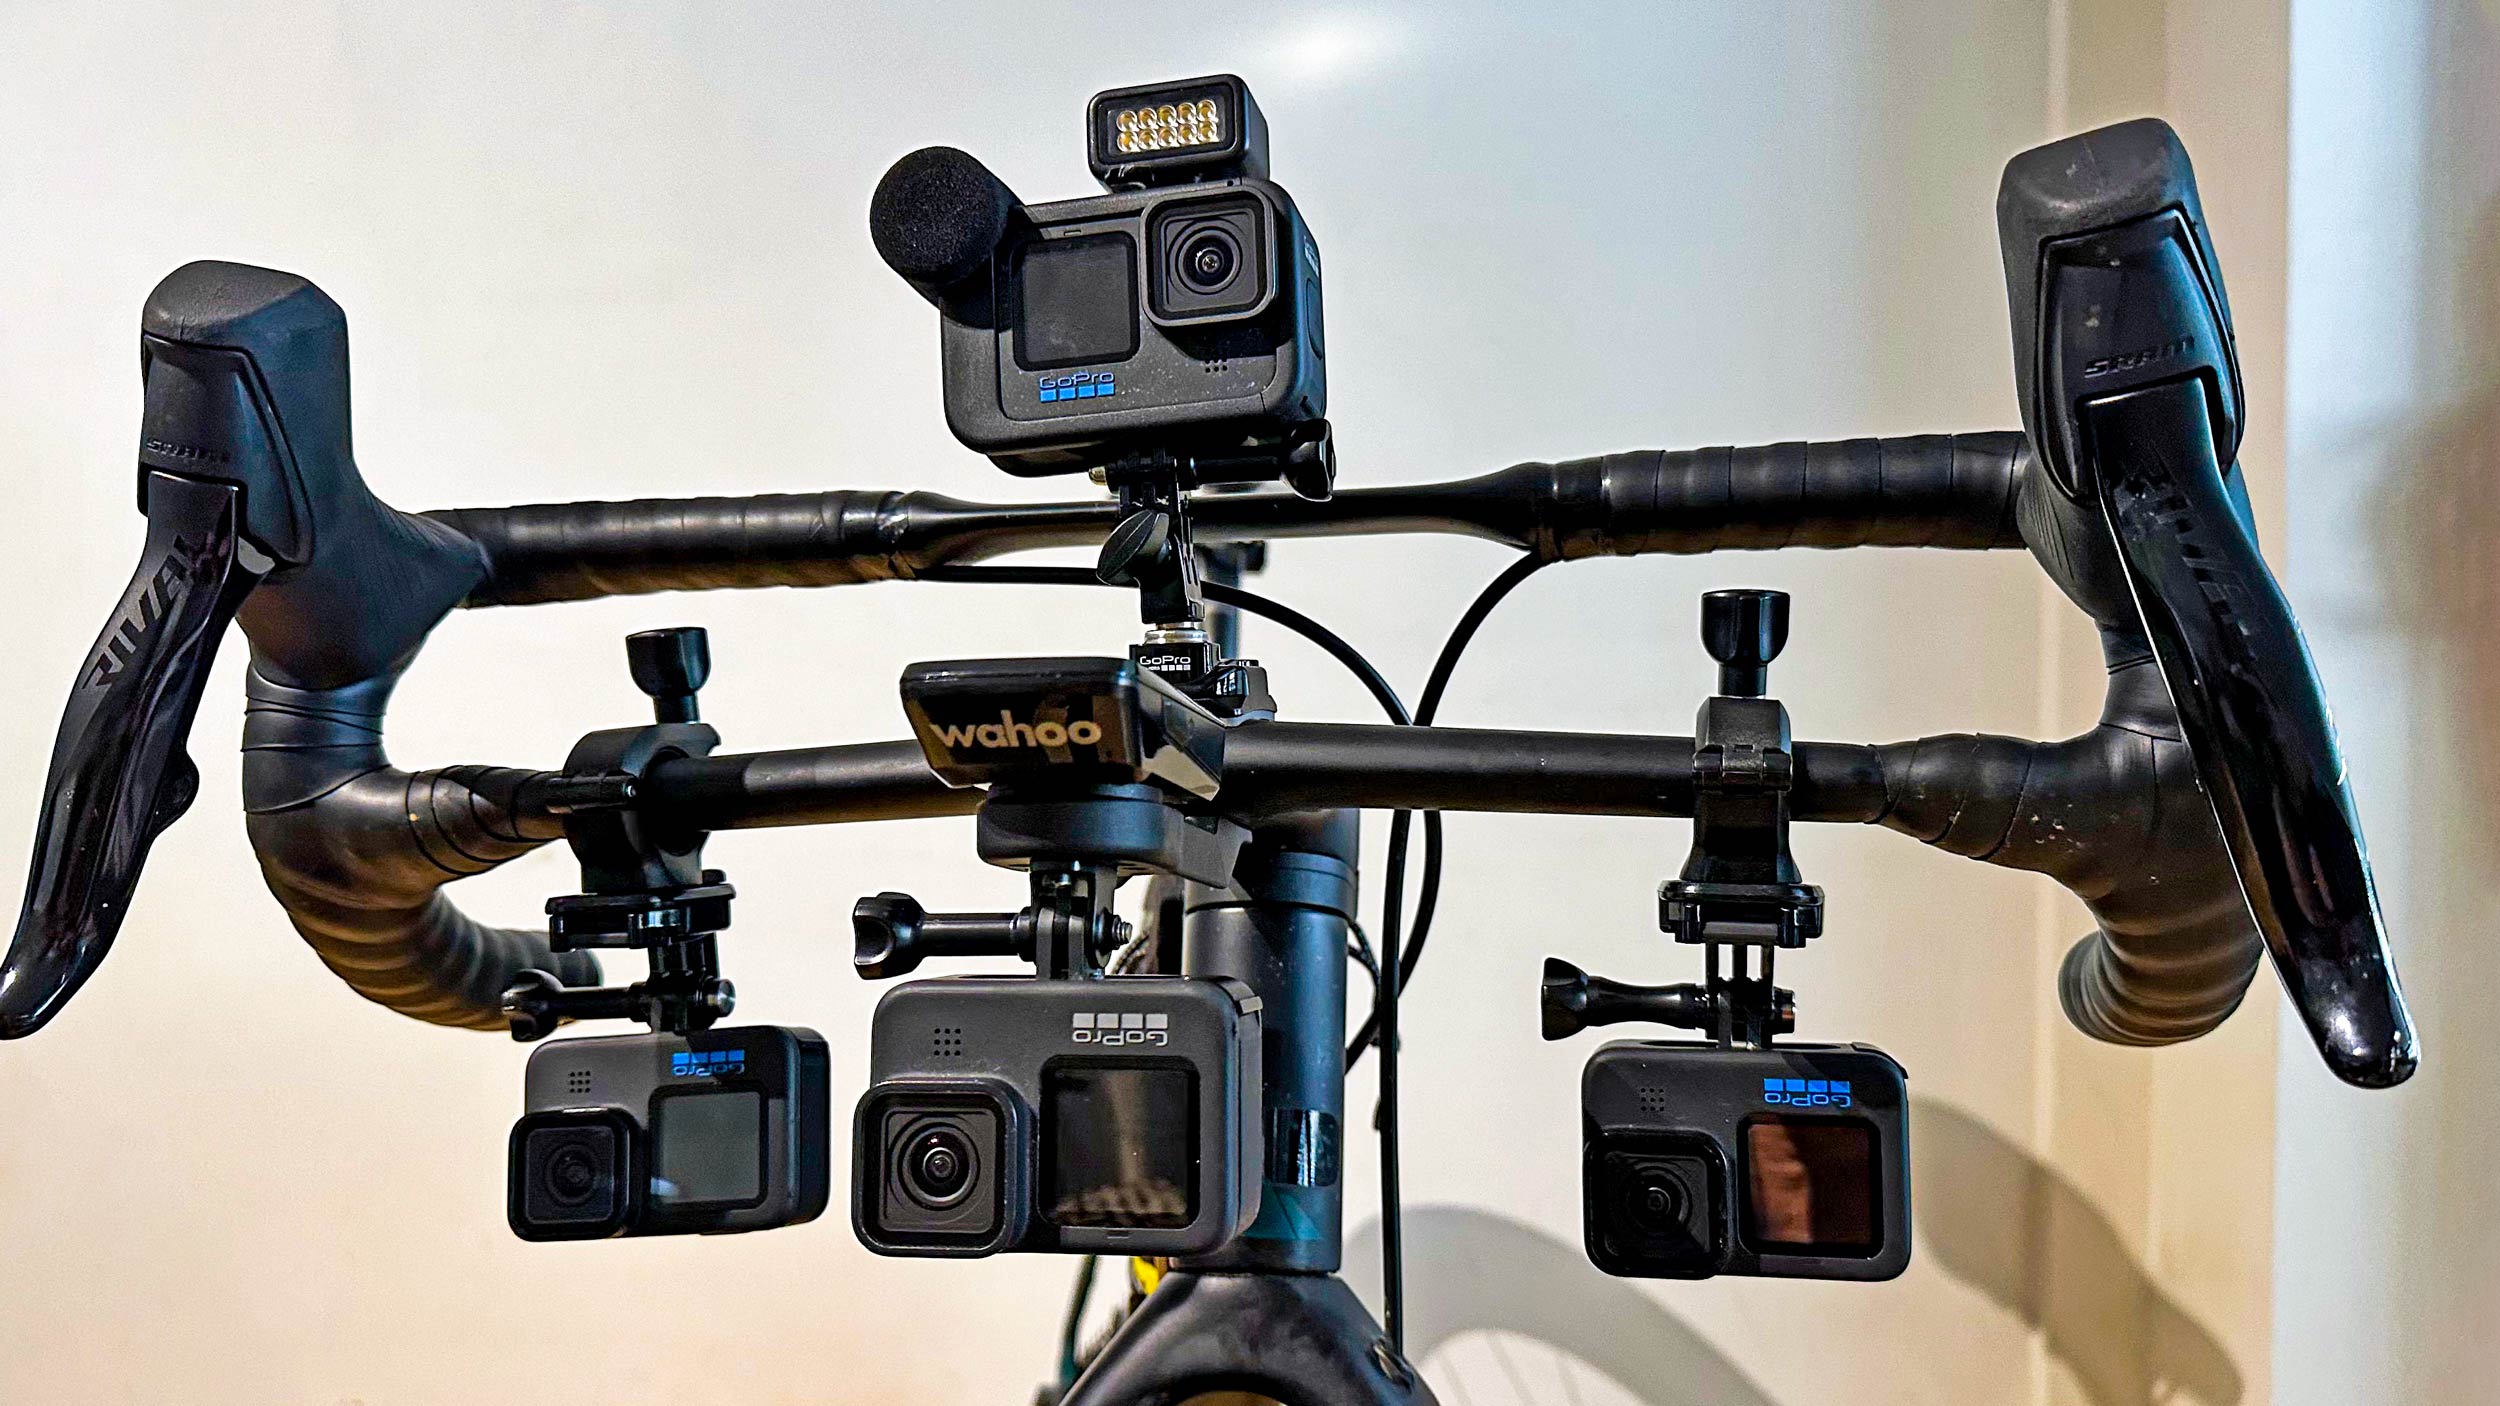
Most of the time I’ve ridden with one camera only: one fastened to a selfie stick that’s stuck in my jersey pocket. Lately, however, I’ve started bringing a second GoPro along in case I want to capture some scenery with it fastened to a fitting underneath my computer mount, or on the rails of my saddle.
Eventually I discovered the advantages of GoPro’s telescopic selfie stick option, the GoPro Max Grip – and that become my go-to for filming when on the bike. I’ve used it for years and the only setback is that you have a relatively long pole protruding from your jersey pocket. (Most people, I’ve come to learn, think is a pump. Some people have joked about how they thought it was “something else… hahaha!” It’s not. And nor is that gag funny.)
Lately I’ve started experimenting with the 3-Way 2.0 collapsible tripod / arm / grip / selfie stick. It’s a different arrangement for fastening, meaning that you can slide the ubiquitous GoPro fastening mount off the selfie stick and slot it somewhere else (like the adhesive mount I’ve recently attached to the flat top of my Focus Izalco Max stem).
This remains a work in progress but I like the versatility and the option of not always having the camera (and Media Mod) in my pocket. Watch this space, I imagine the 3-Way will become the selfie stick of choice in the weeks to come.
* * * * *
There is a lot to consider and I hope you find this summary interesting. It is difficult to explain all the things I’ve learned while filming on the bike but I’m happy to try and answer any questions you may have. Ping me an email and / or leave a comment on any of RIDE Media’s social portals and I’ll do my best to get back to you promptly.
Of course, it’s great to relive the good rides and share the vision with others but I want to reiterate that safety is far more important than getting the perfect shot. If there is ever any risk, refrain from filming!
And remember, there are few things in life that provide as much satisfaction as a good ride. So, focus on that first and consider capturing the vision as a secondary element of time on the bike.
– By Rob Arnold
For more videos, visit RIDE Media’s YouTube channel.